Showing posts with label Tutorials. Show all posts

Wednesday, 21 May 2014

Making a Tiny Victorian Hall Lantern

I have been searching for some light fittings for my half scale dollhouse, however, in this scale I have not been able to find any affordable lights which are not clunky and look out of scale. I did find some that were nice but were about $150 - $200 each, which is too much if you want to light a whole house. 

So, I decided to make my own. The first light fitting I need to make it the entrance hall light because it will be closest to the lighting pack (which will sit under the stairs). 

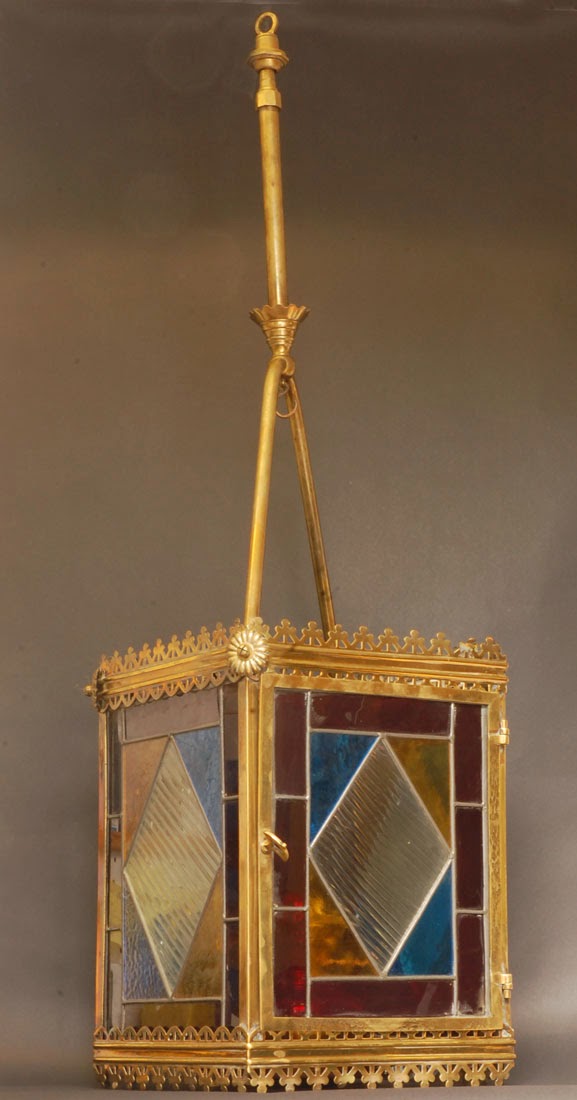
I decided on a Victorian hall lantern. I love these lanterns so much! 


There are many different styles, but the common elements include leaded stain glass in simple geometric patterns, and quatrefoil patterned edging. 

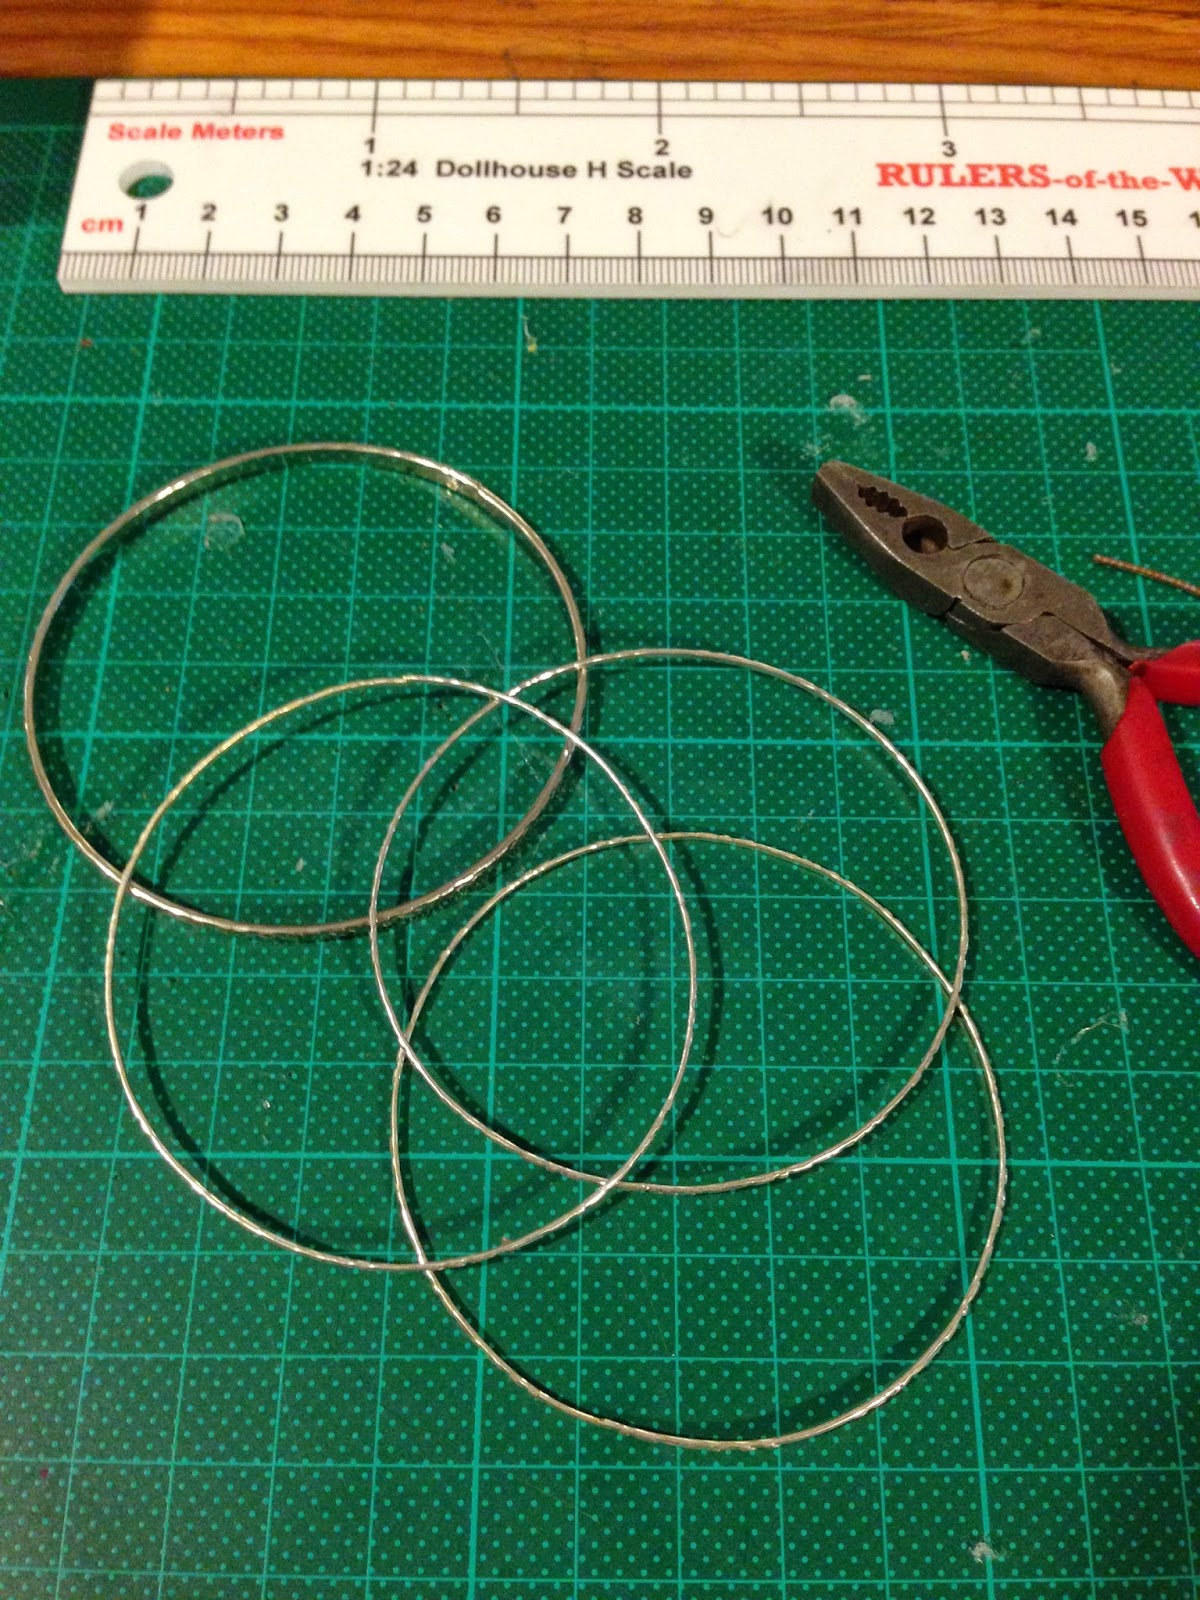
To make my little lantern, I first found some cheap, thin bangles.

I also tracked down some fancy jewellery wire with a nice gothic-type pattern. 


I cut the bangle into 8 equal lengths to form the top and bottom frame of the four sided lantern.


I then cut small sections from the decorative wire and used them to cap the edges of the frame, top and bottom.


I then bent two lengths of wire for the "handle" on the top.
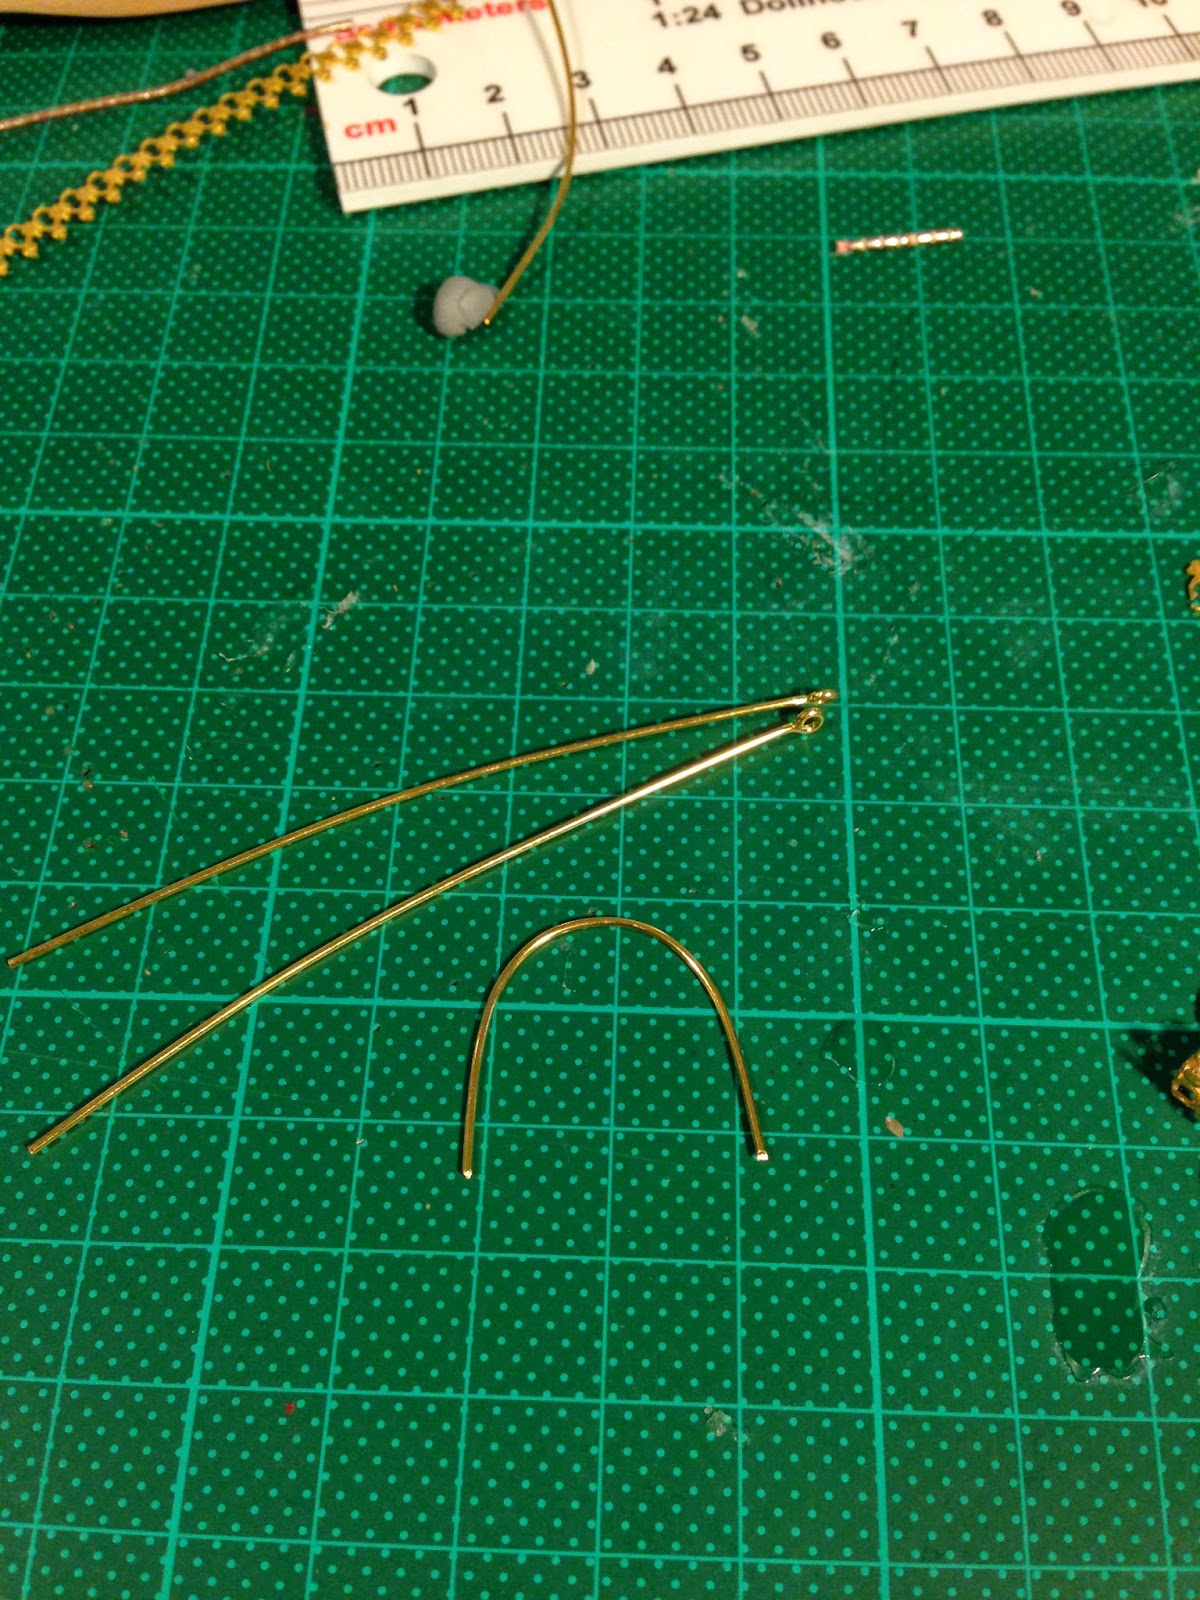

I then glued these two lengths on as you can see below.


Once the top and bottom frames were done I cut four equal rectangles from acetate for the glass. These glued into a cube easily using a plastics glue. 
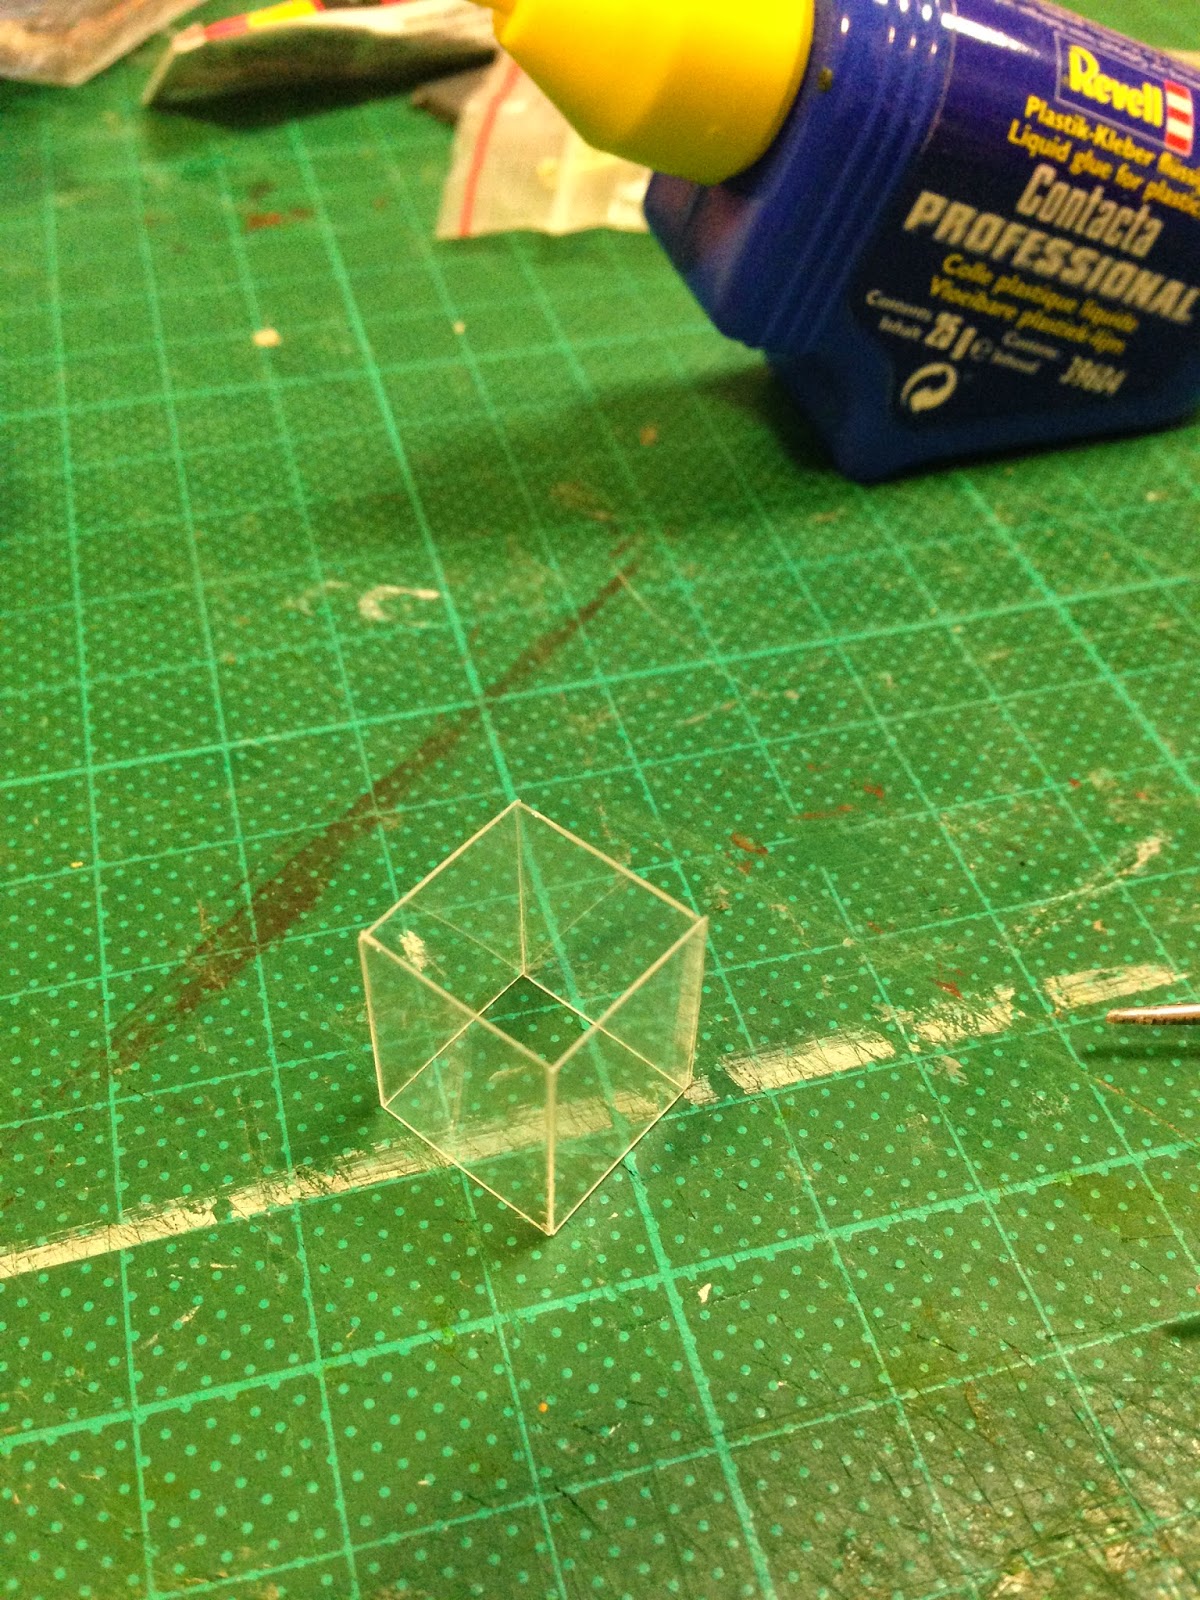

Then I popped the top and bottom framing sections onto the acetate cube.


Next I used a length of gold tape to use for the leading (bought from a gold supply shop). This is thin lead strip tape with an adhesive backing which can be cut into very thin strips and simply stuck down to look like leading on glass. I also used it to cap the four side edges of the lantern.


The use of super glue to glue the metal frame to the acetate oxidises the acetate, thus making it a little cloudy. I personally like this because I think it makes the glass look old. 
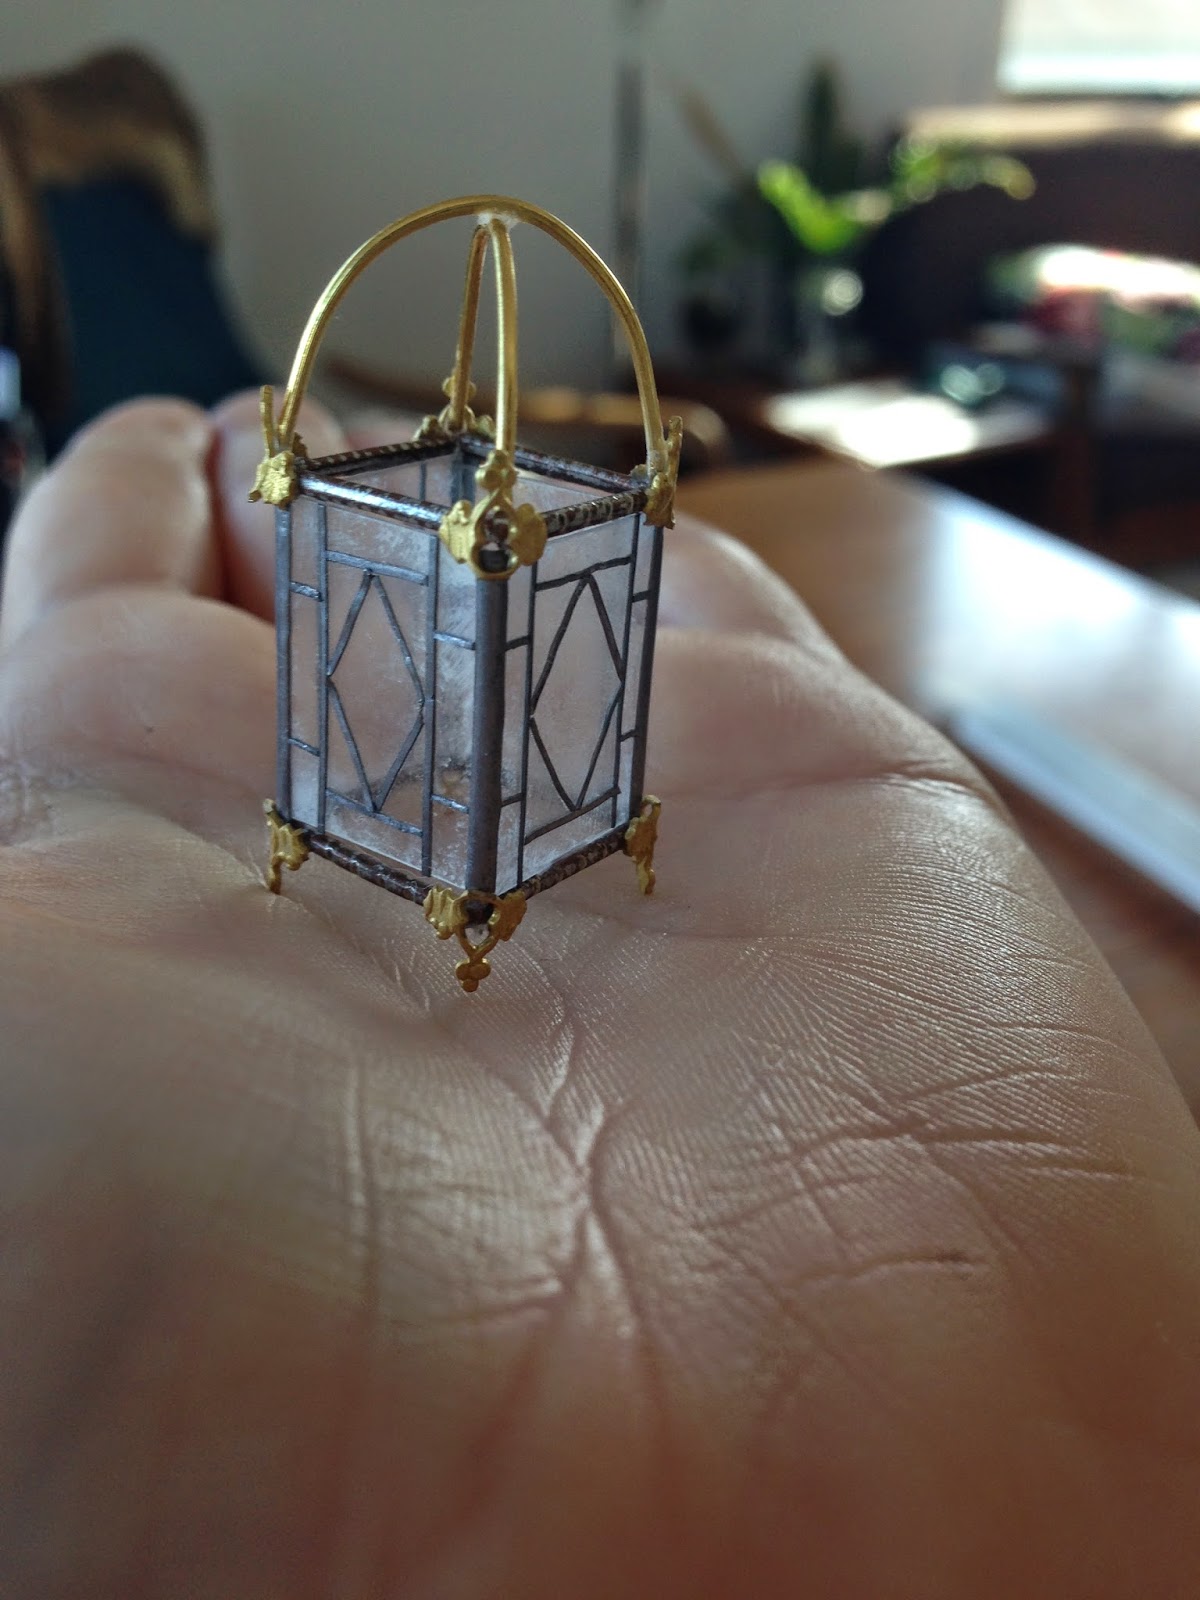

I bought glass paints to colour the acetate however (after spending a lot of money on the paint) changed my mind because it did not give a smooth finish. Instead I bought coloured cellophane, cut it into pieces and glued it to the inside of the lantern.
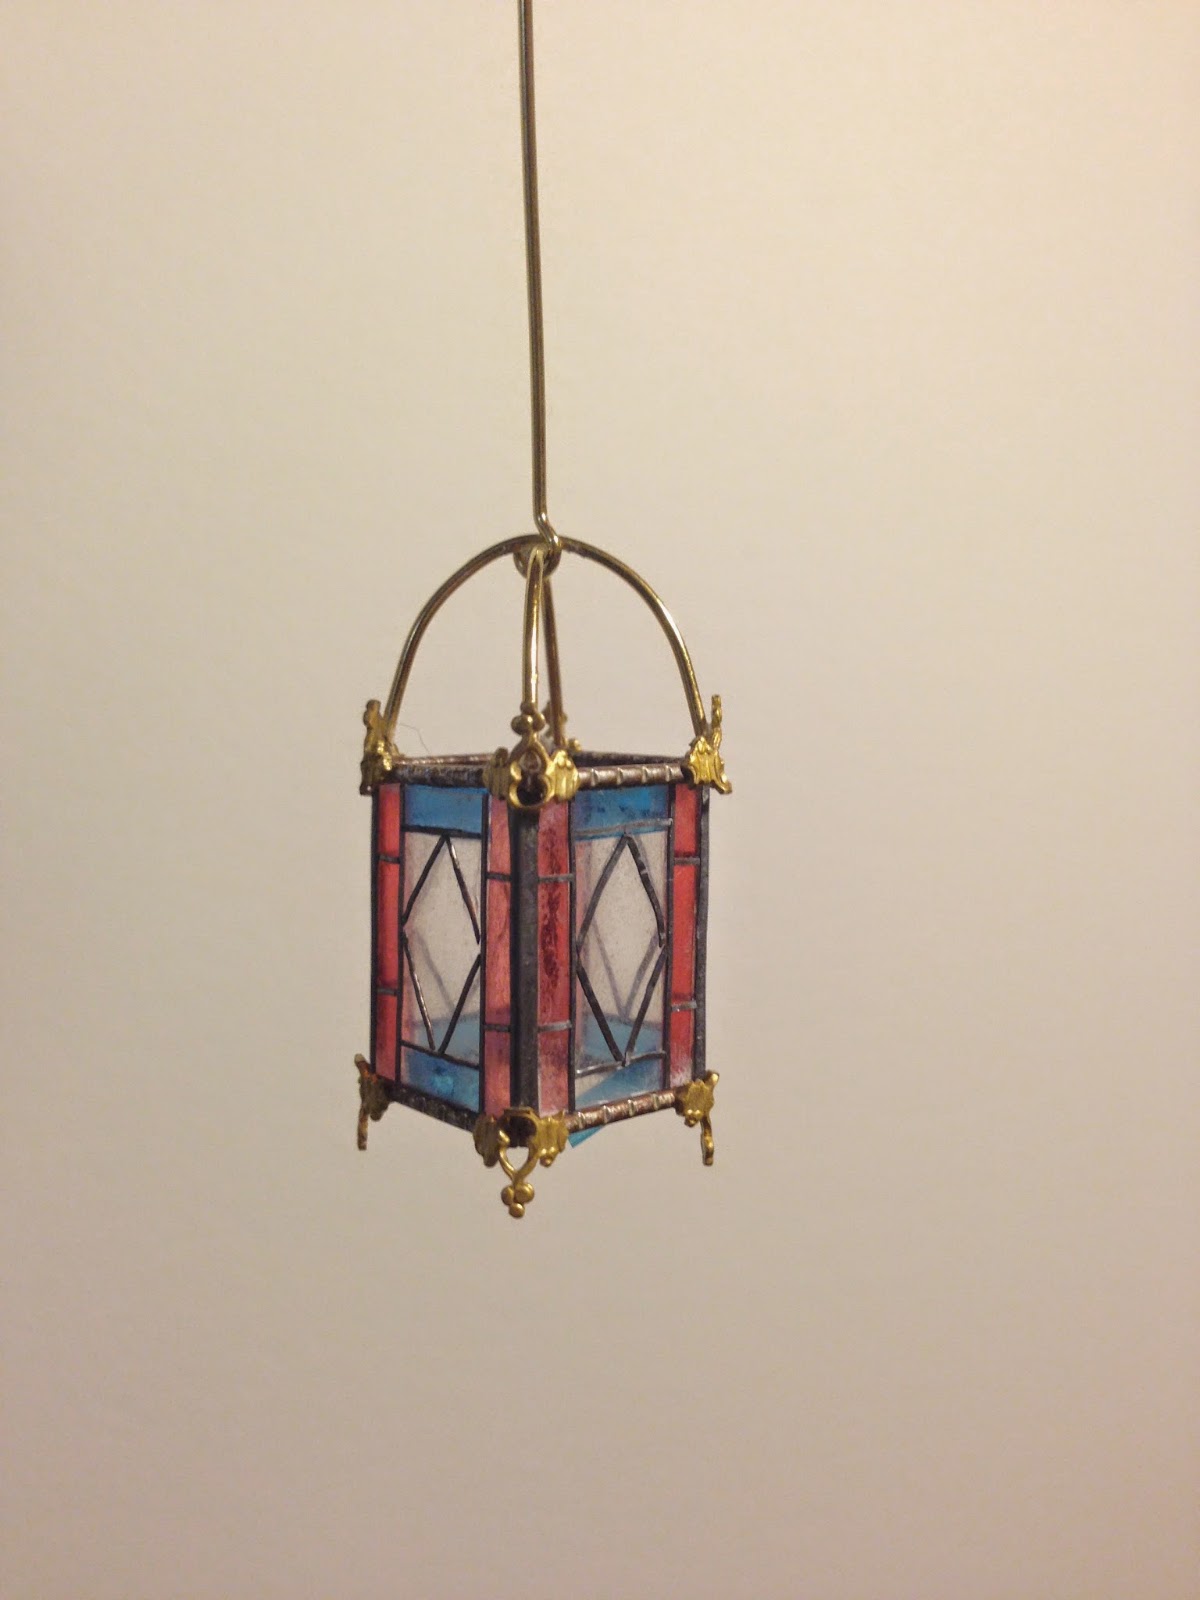

The outcome is surprisingly real and effective!

Im still debating whether I have made the lantern the right scale for the hall. I feel it might be a tiny bit big. I guess it will become more clear once the other finishes are in.

I have been thinking of making some more to sell on Etsy (in both 1:12 and 1:24). Thoughts?

Sunday, 27 April 2014

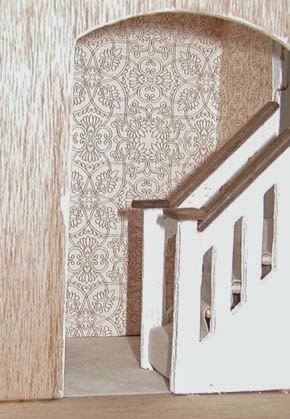
A Tiny Staircase Tutorial

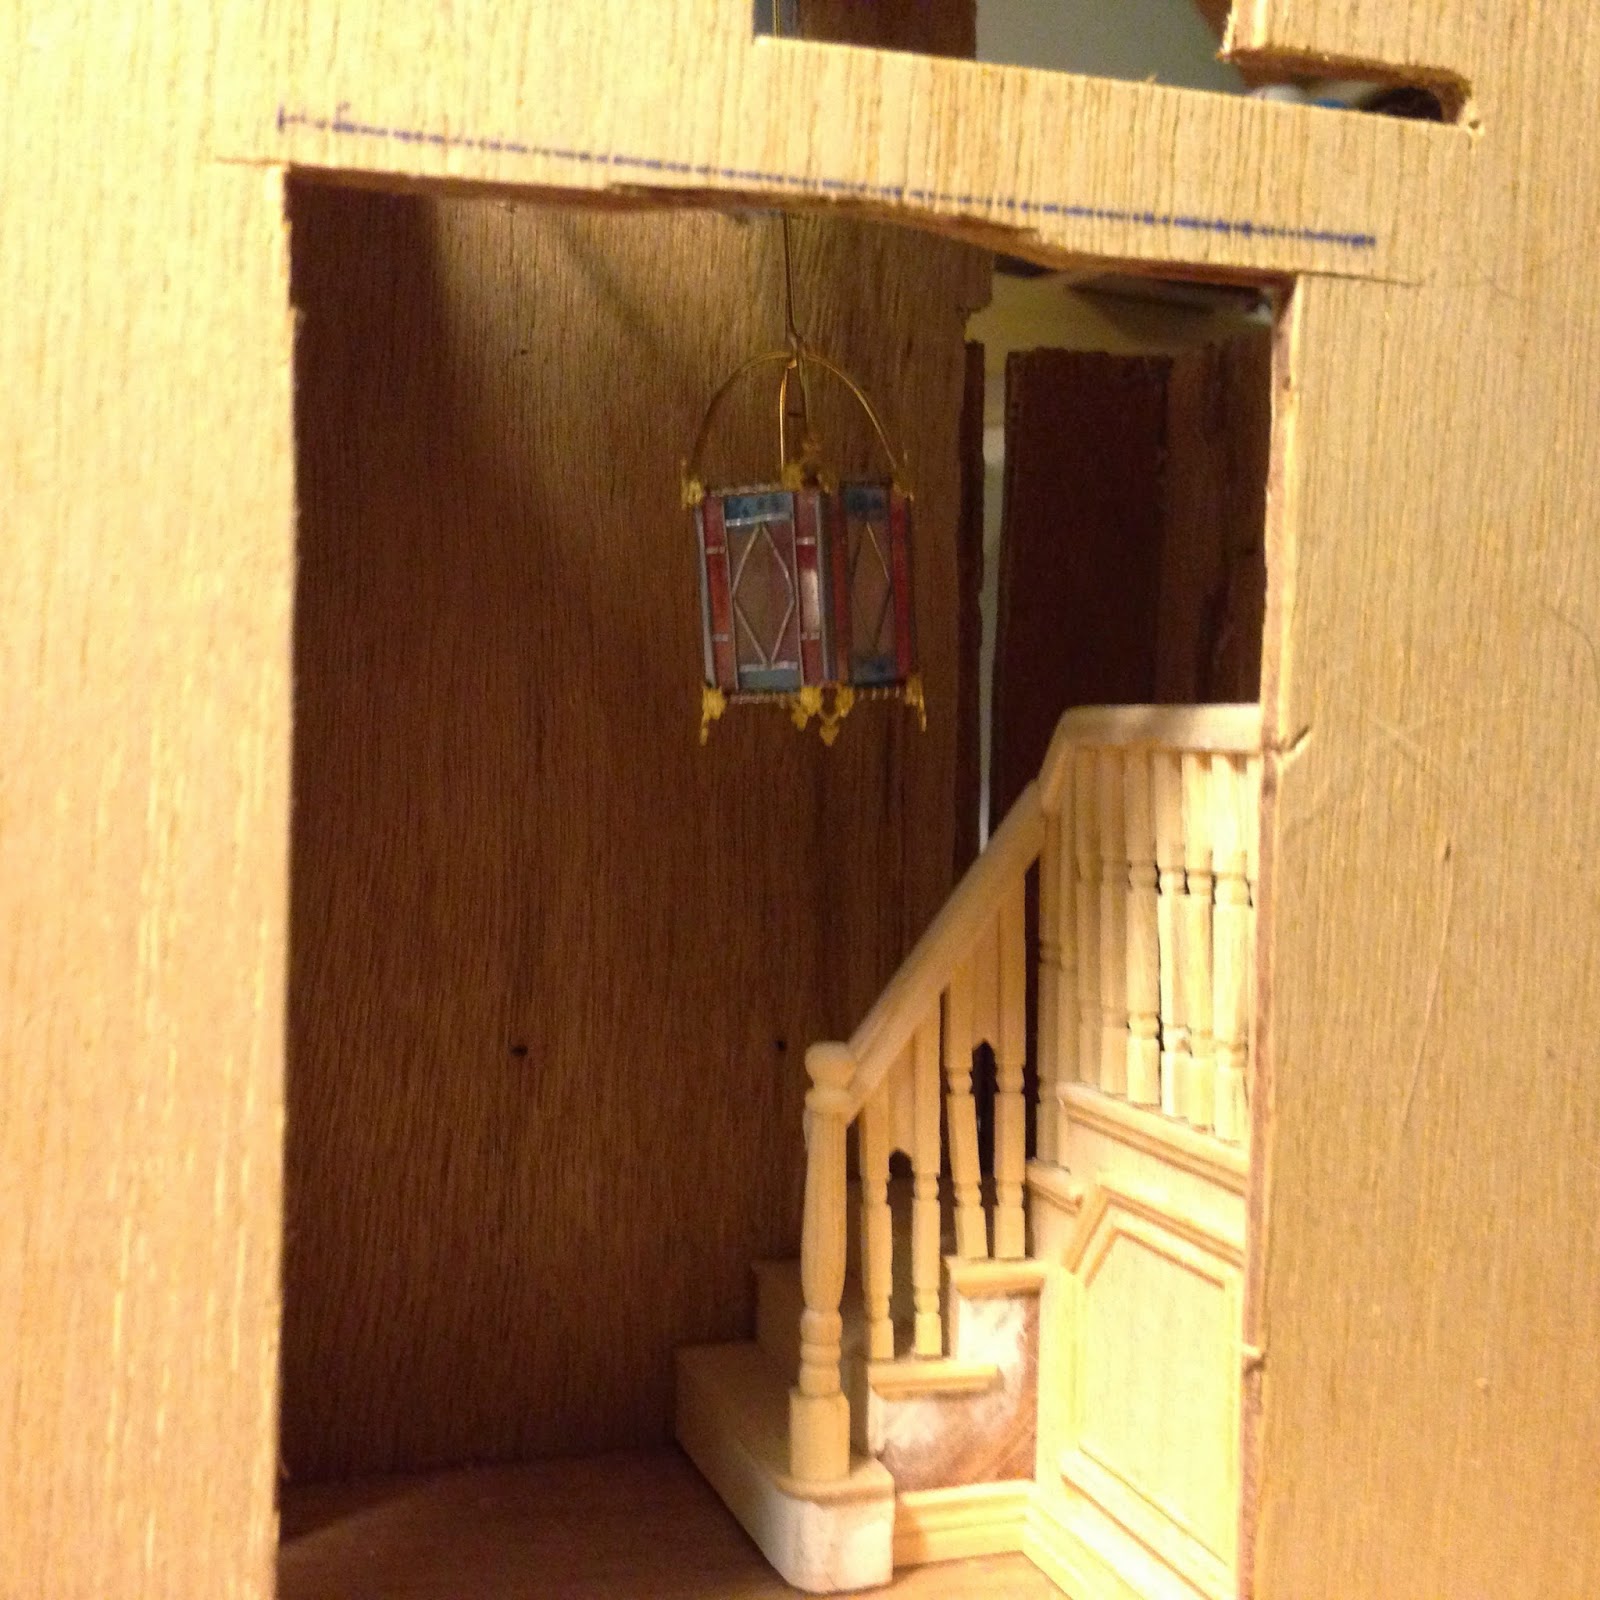
I decided to redo the staircase for the Fairfield. The house comes with stairs, but they are positioned in an awkward spot and do not make the best use of space.

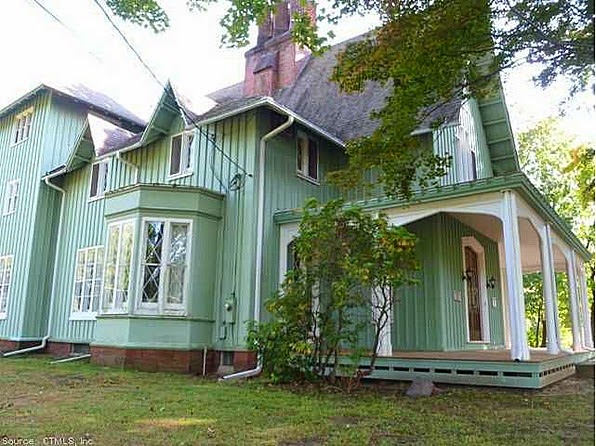
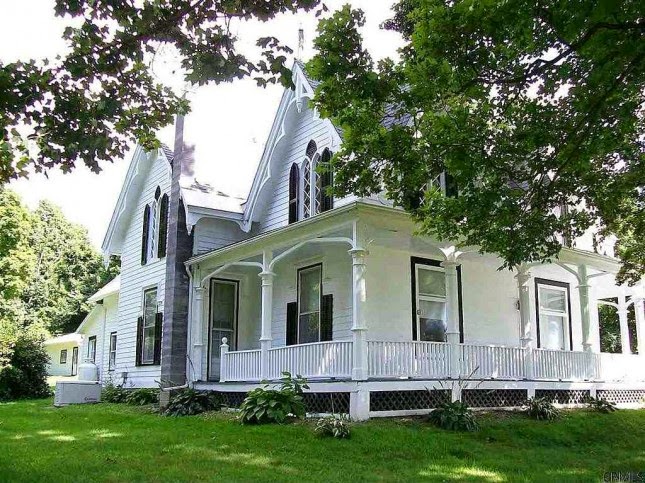
These are some images from around the web of other Fairfield dollhouses which have been built. You can see that the stairs cat the door way to the lounge in two.


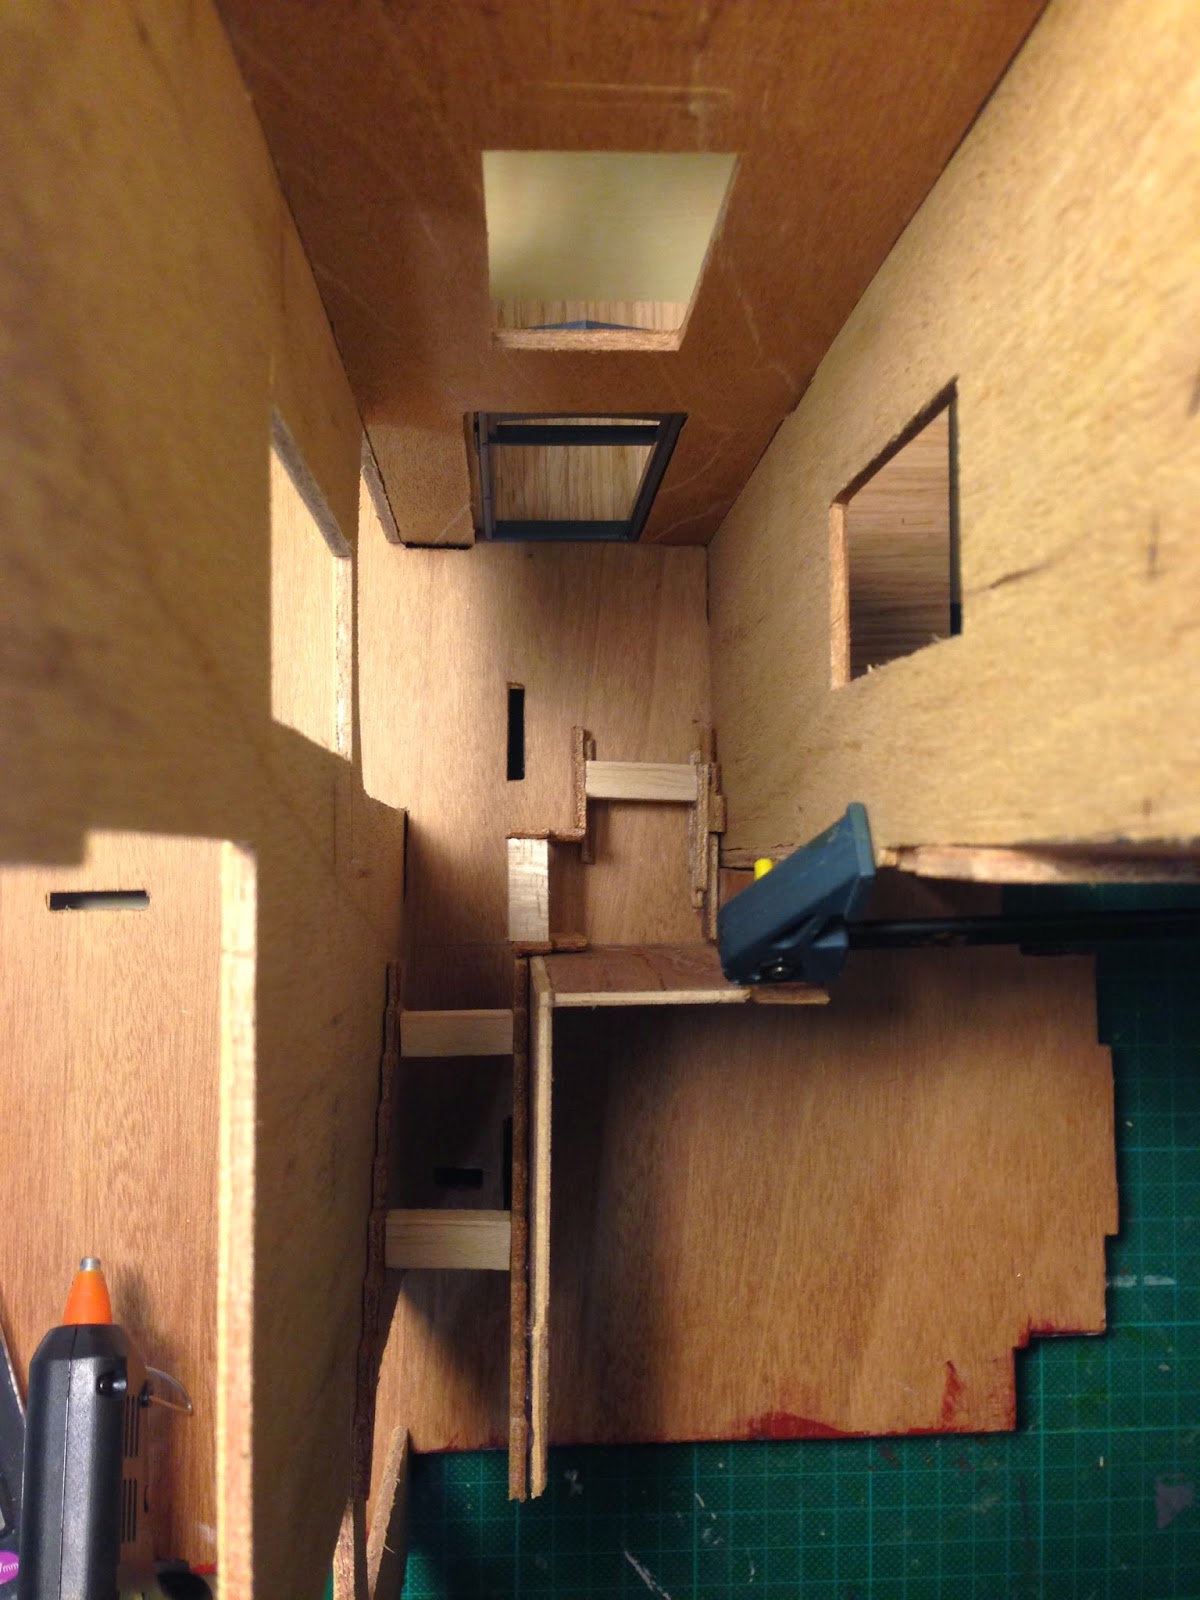
I decided to alter both the stairs and the course they take in the small front hall. I also increased the size of the hall so that they would fit (it now encroaches more into the kitchen behind).


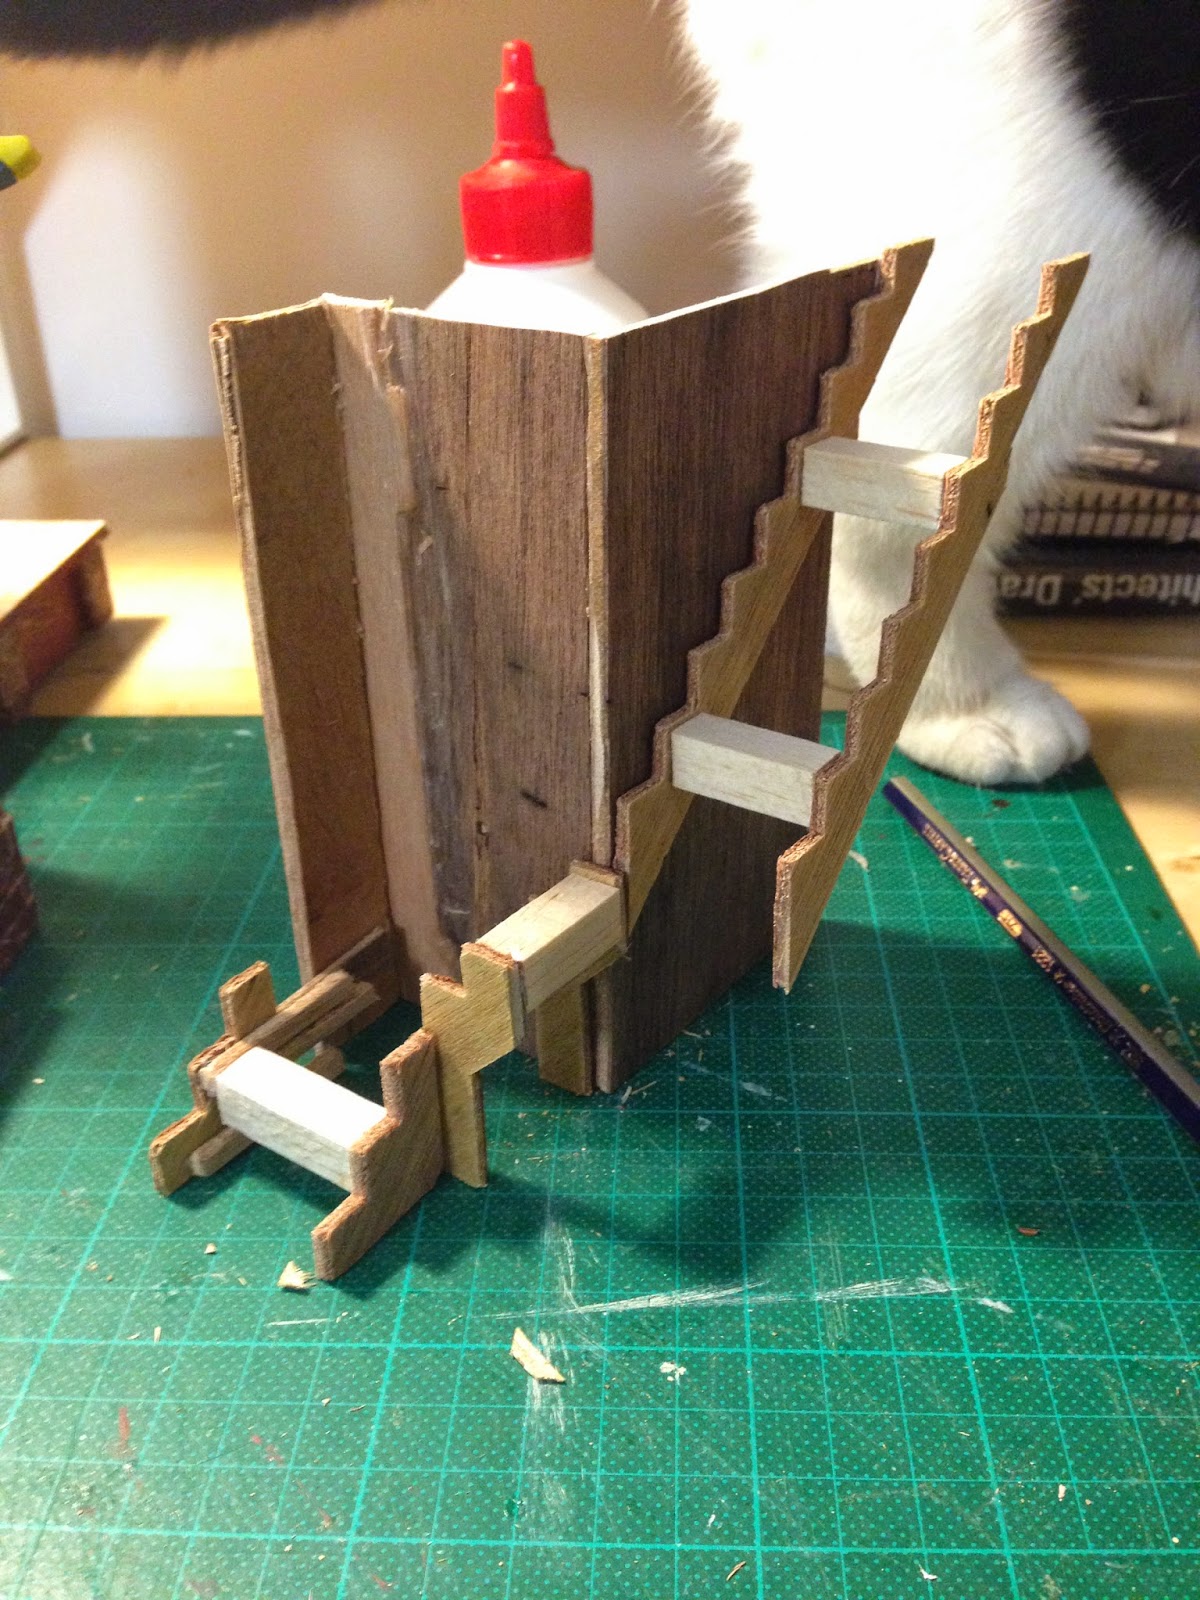
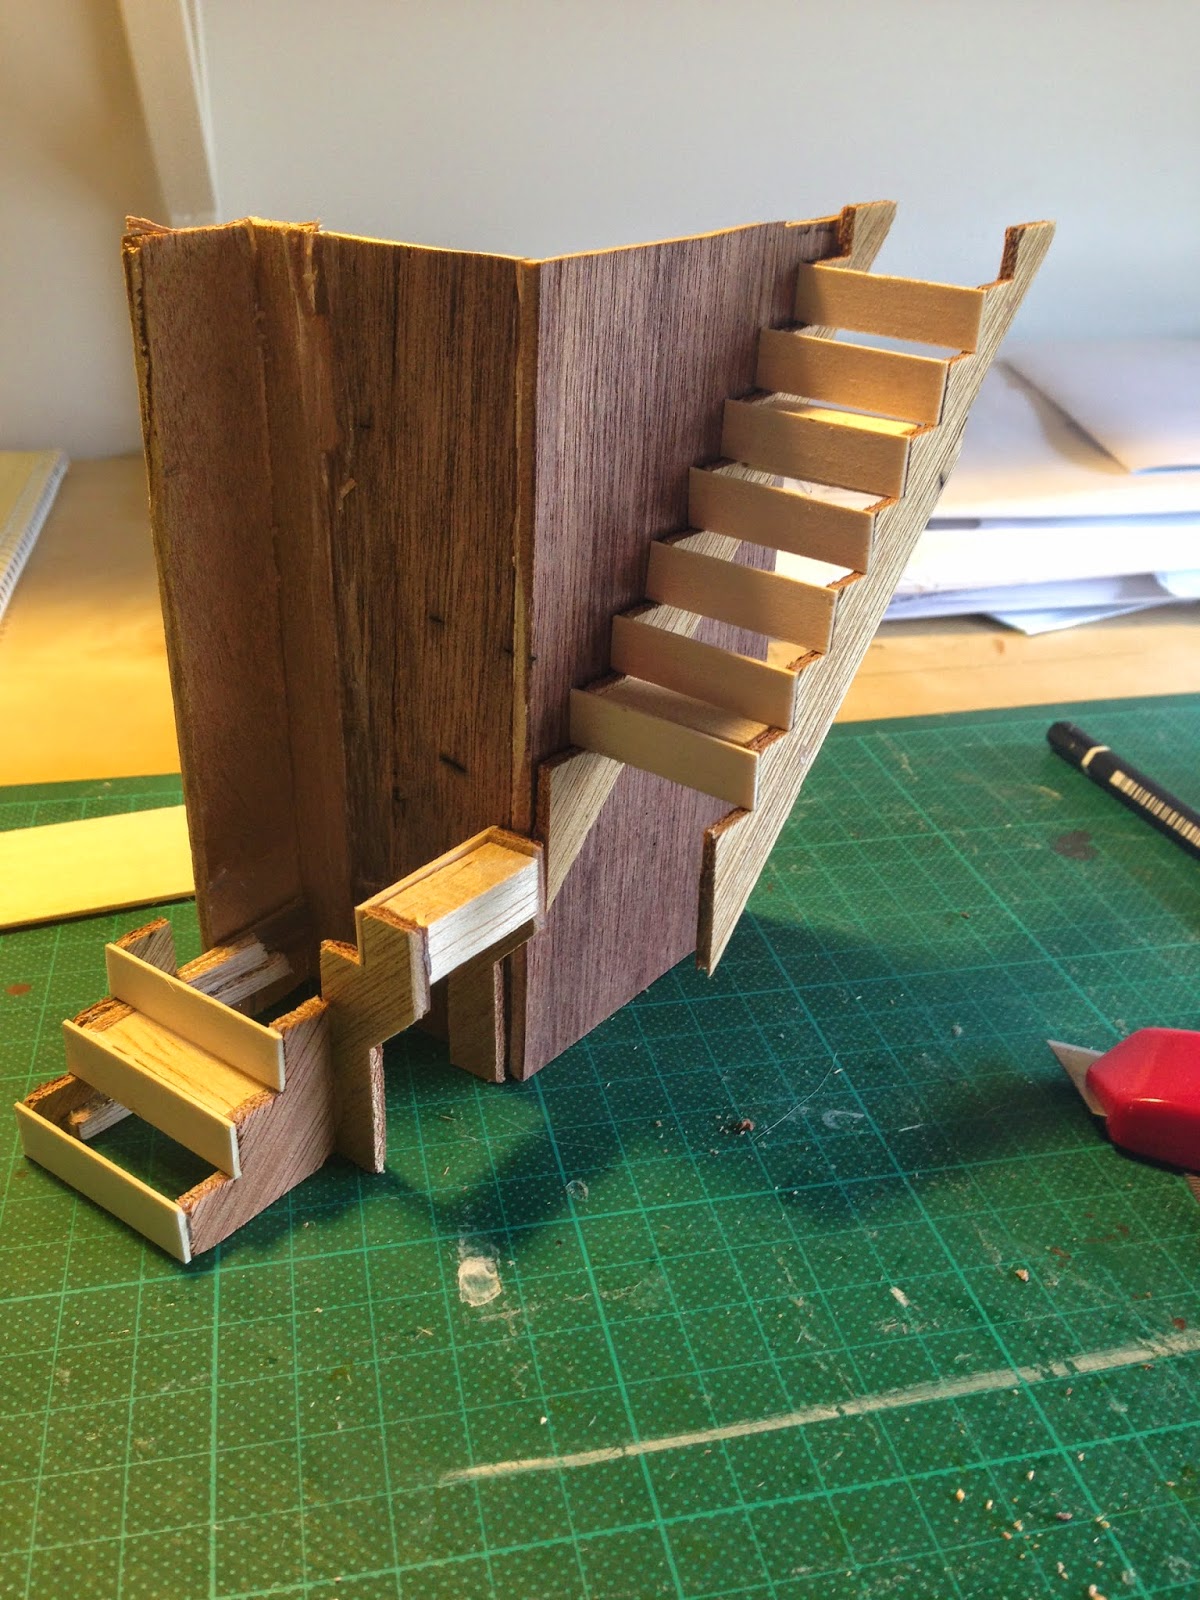
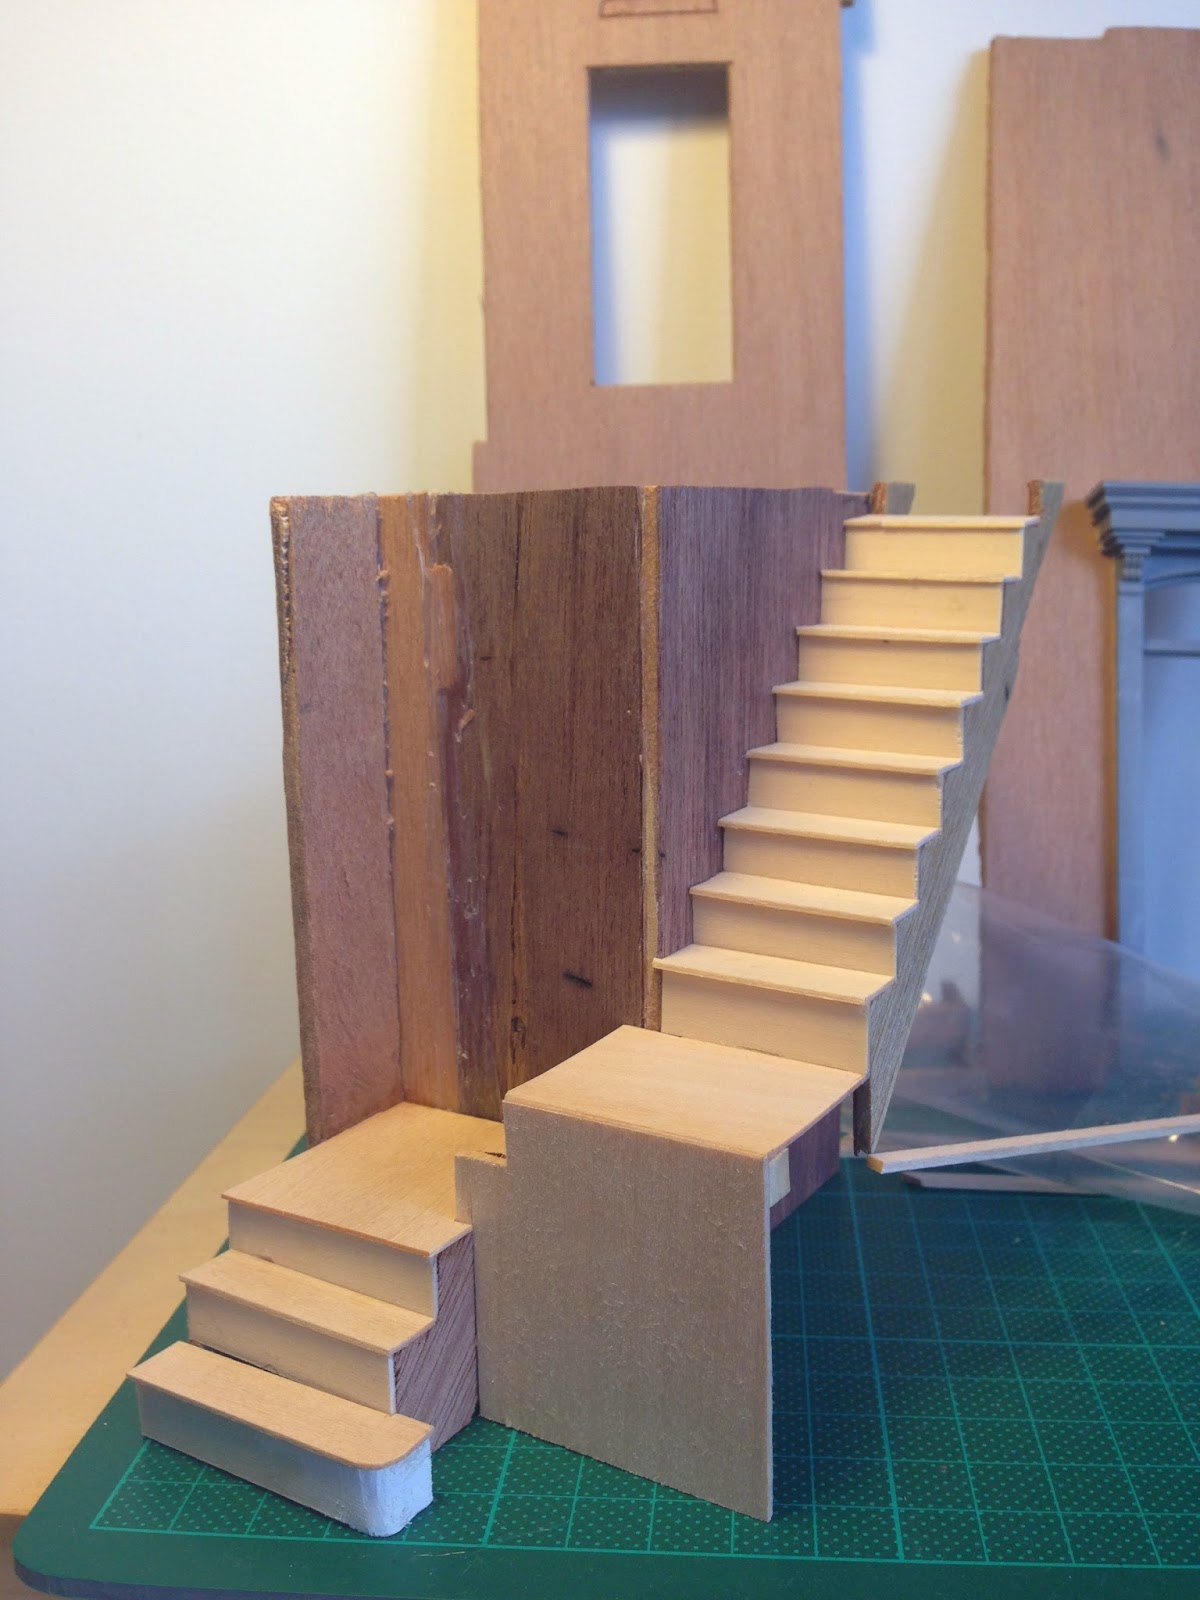
I cut up the kit to alter the direction of the stairs (hard to show how I did this in pictures). I also widened the stairs because they were far too narrow and looked out of scale.


I made new risers and treds out of fine and thin base wood.


I widened the final step to give a nice look.


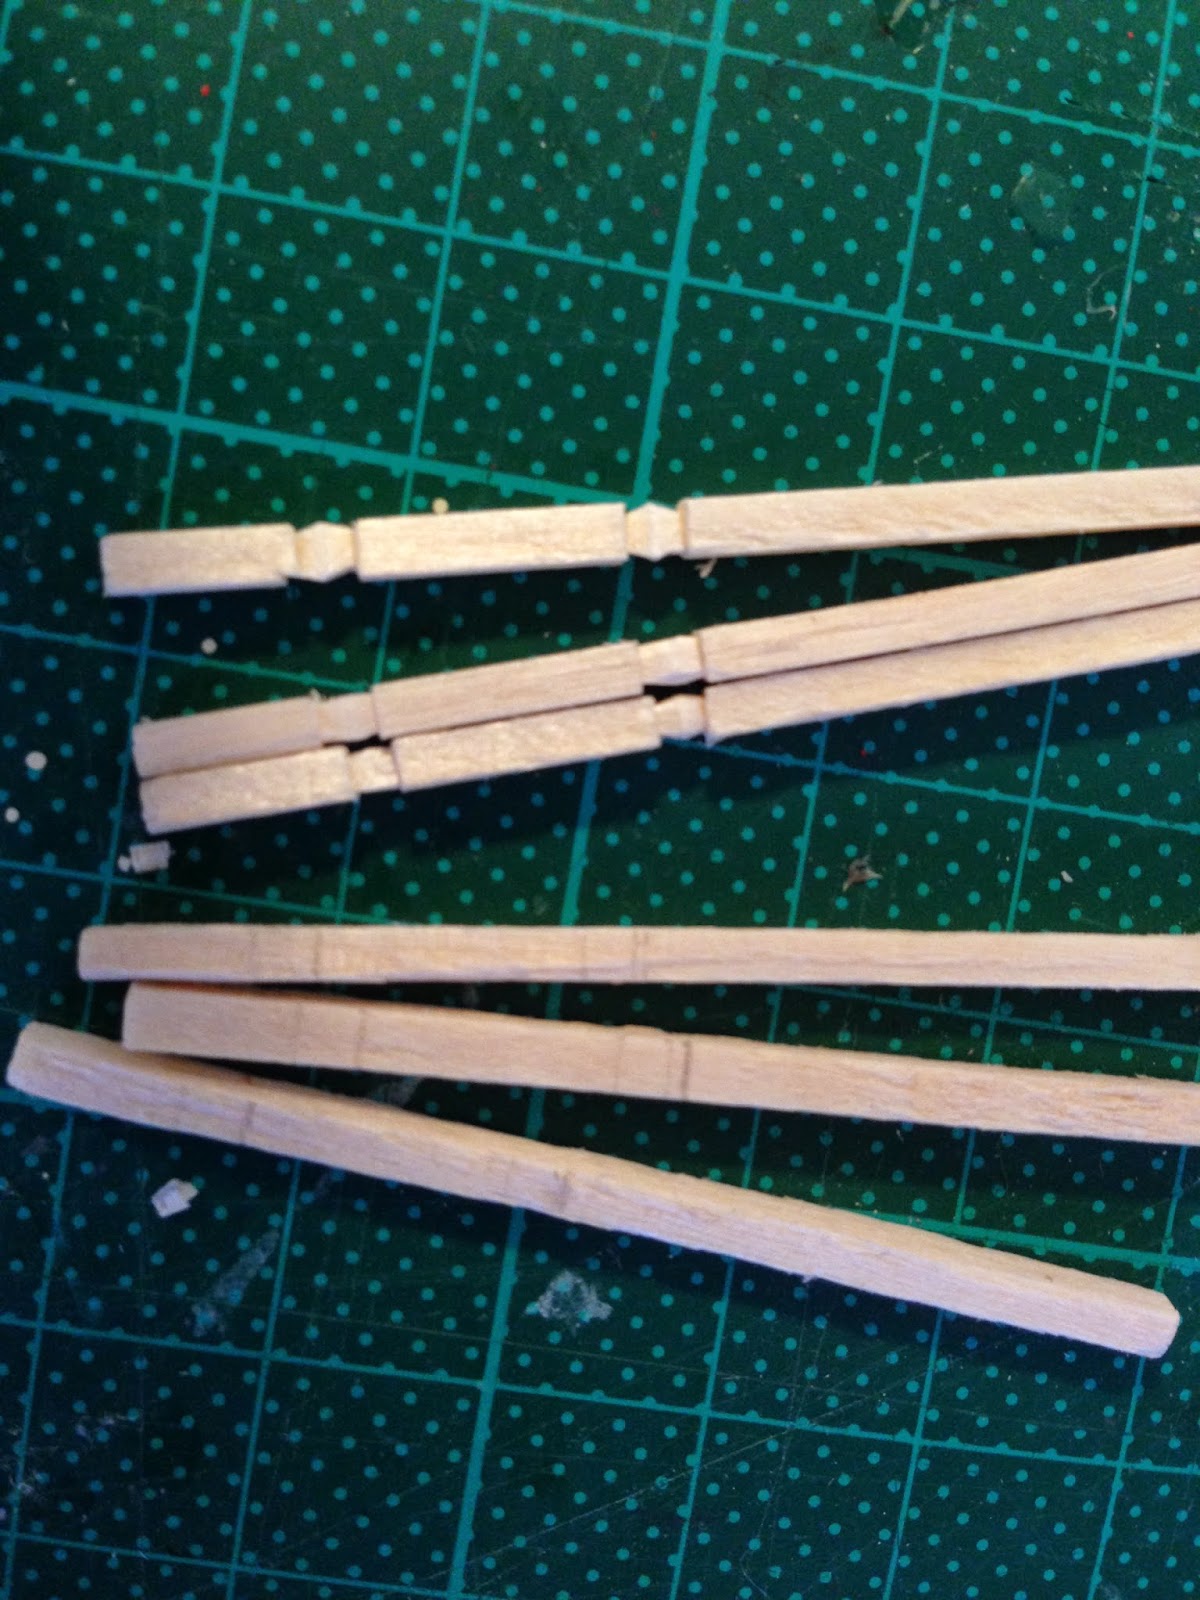
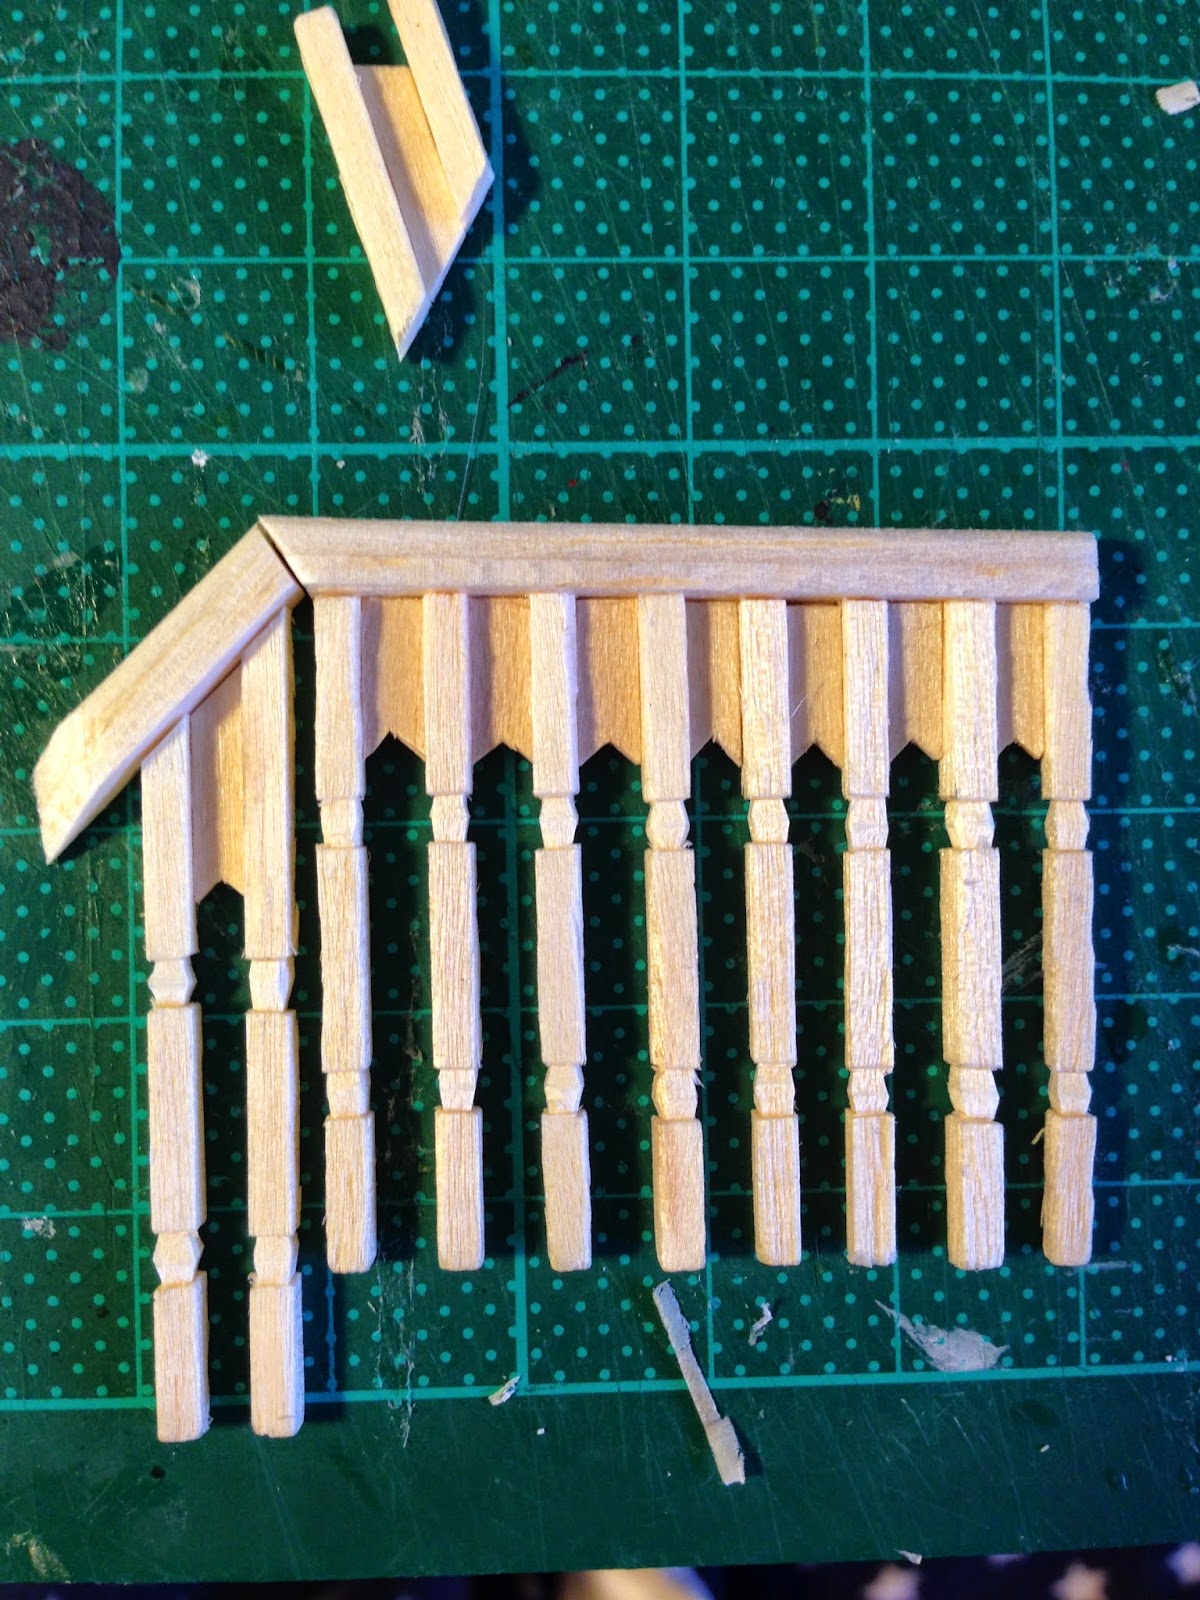
I made new spindles out of match sticks which I carved simple notches into. I felt as though the stair spindles you find in the shops are not totally the right scale.


I made balustrading  with strips of balsa wood which I sanded to give it a round edge.


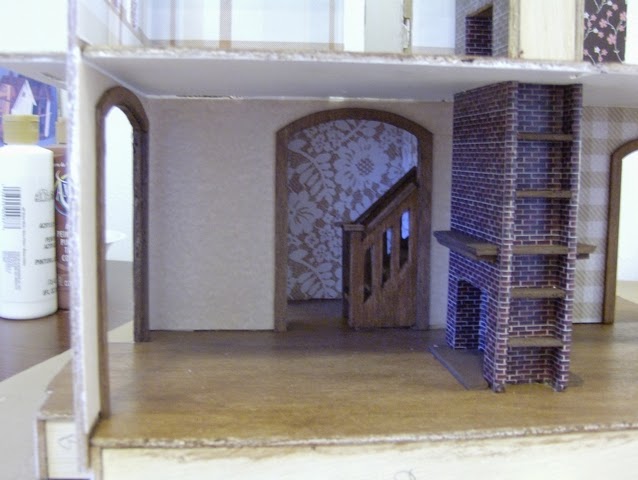
I think the finished stairs look much better, and more architecturally accurate.


This is how they sit in the hall now.


Thursday, 24 April 2014

Faux Brick Tutorial

I have decided to give my 1:24 dollhouse a nice red brick base. I decided to do so because I like the brick bases on these little houses and I wanted to imitate them.


I decided not to use the plastic prick sheets you can buy in the shops because I don't think they look realistic (they are difficult to paint). Also, it is hard to wrap them around corners in a realistic way. As such, I decided to make the bricks one by one instead. 

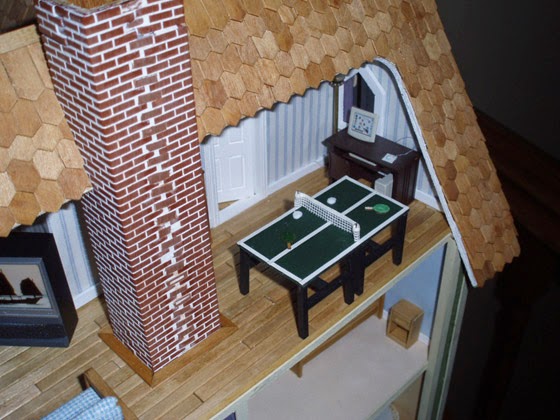
Below is an example of what can go wrong with plastic brick sheets if the measurements aren't quite right (I found this picture on Pinterest, the owner has done a beautiful job on the house in general).


I used egg carton to cut out individual bricks. Egg carton has the right texture to be brick of that scale. 


I then glued them on to the base individually, being careful to wrap them around the corners.


I then mixed up some red/brown paint (you could make the brick any tint you want, and painted two coats onto the bricks.


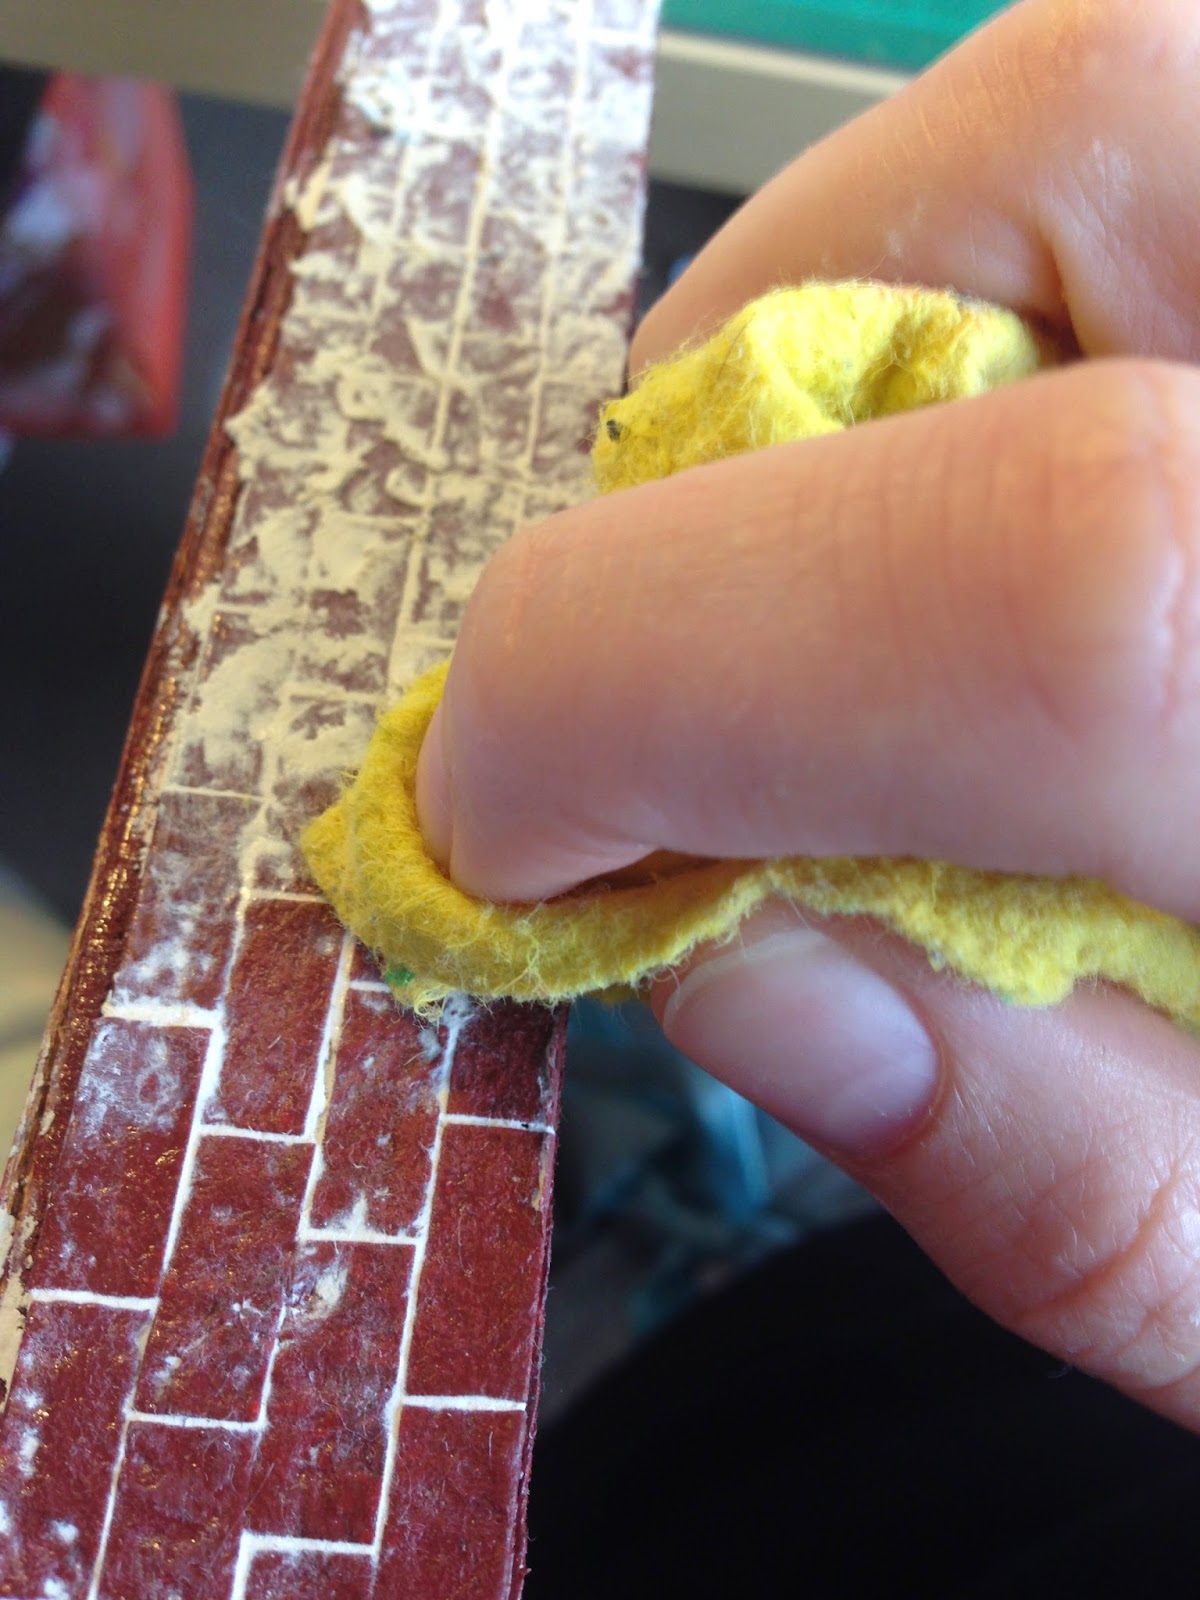
Then, in order show the grout in the bricks, I used timber gap filler. I rubbed it in between each brick (this was a little bit time consuming).


I then took a wet cloth and dabbed away all the excess gap filler.


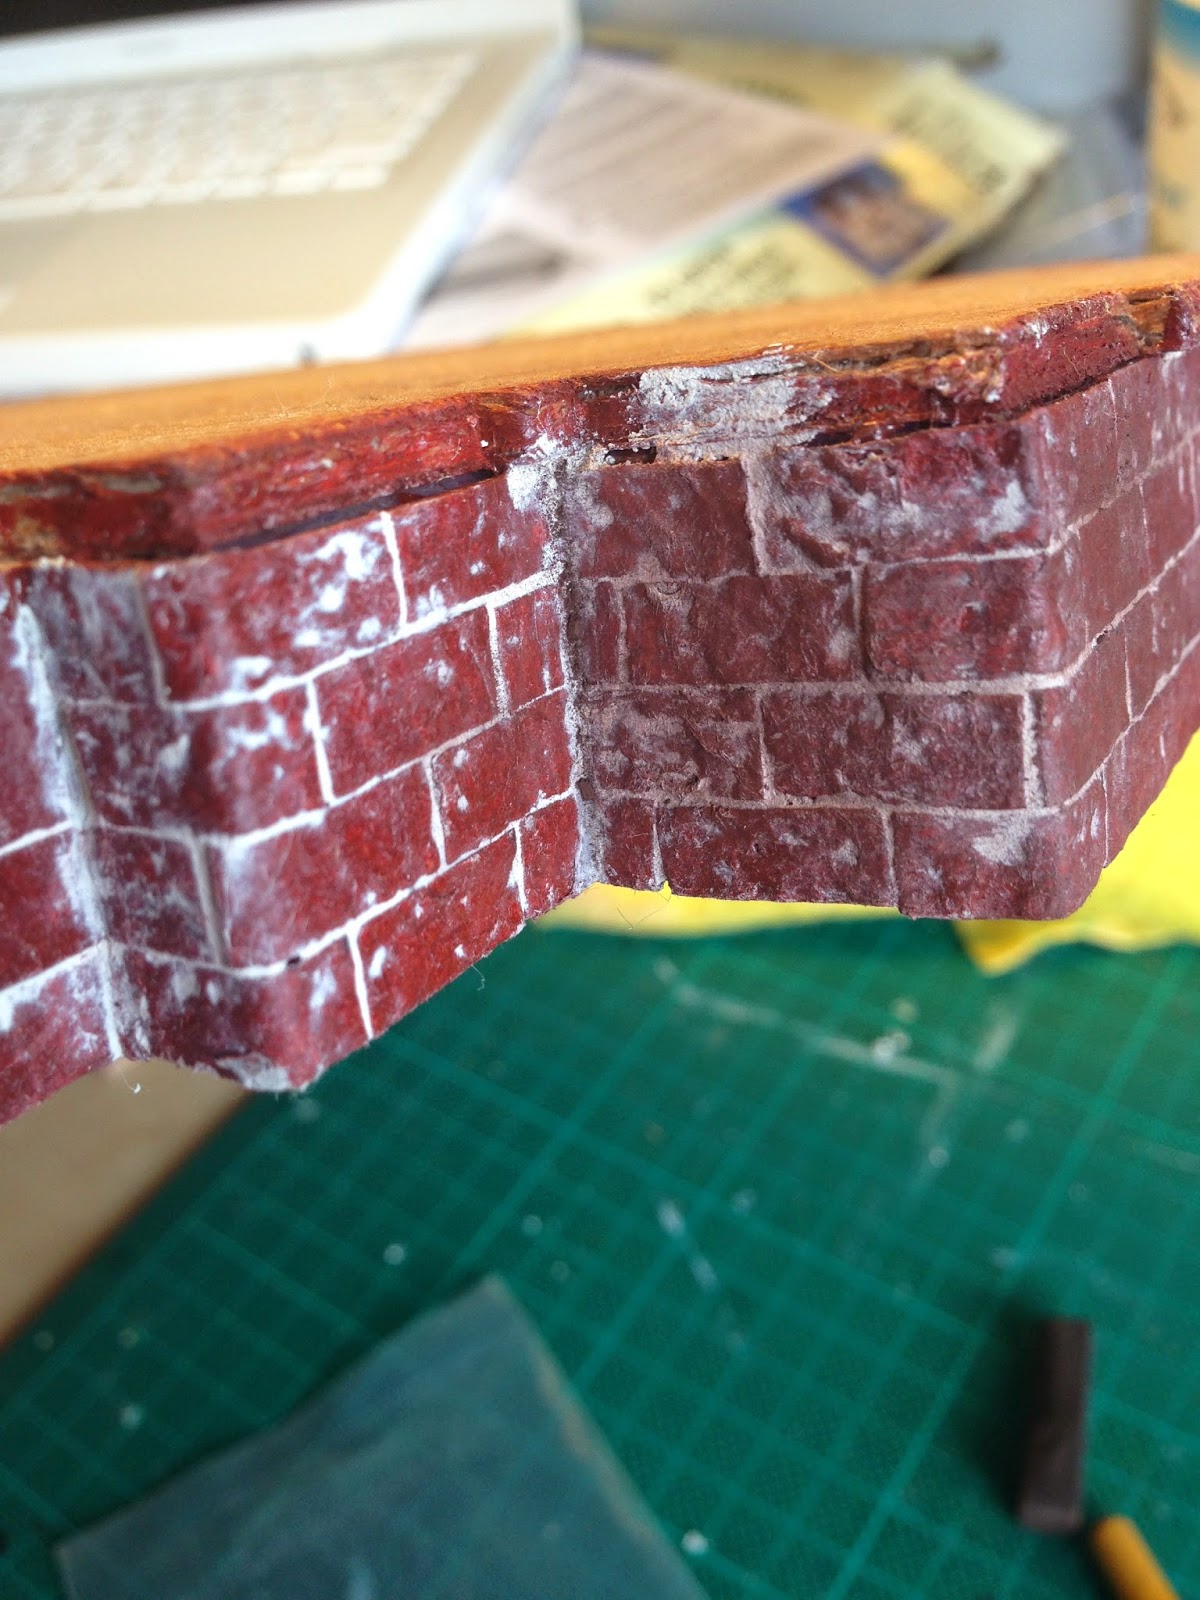
I then gave the bricks a more realistic colour by dusting them with black, brown and green  chalk pastels (the green was for moss in the corners). After this I sprayed the bricks with some gloss sealer which you can buy at art shops and is usually used to seal paintings. This gave the bricks a bit of a shine/glaze which looks a bit more realistic and also removed any suspicious a viewer might have that they were made of cardboard.  


Below you can see that the right corner has been coloured with pastel, while the left corner hasn't. Notice how much more realistic the right side looks.


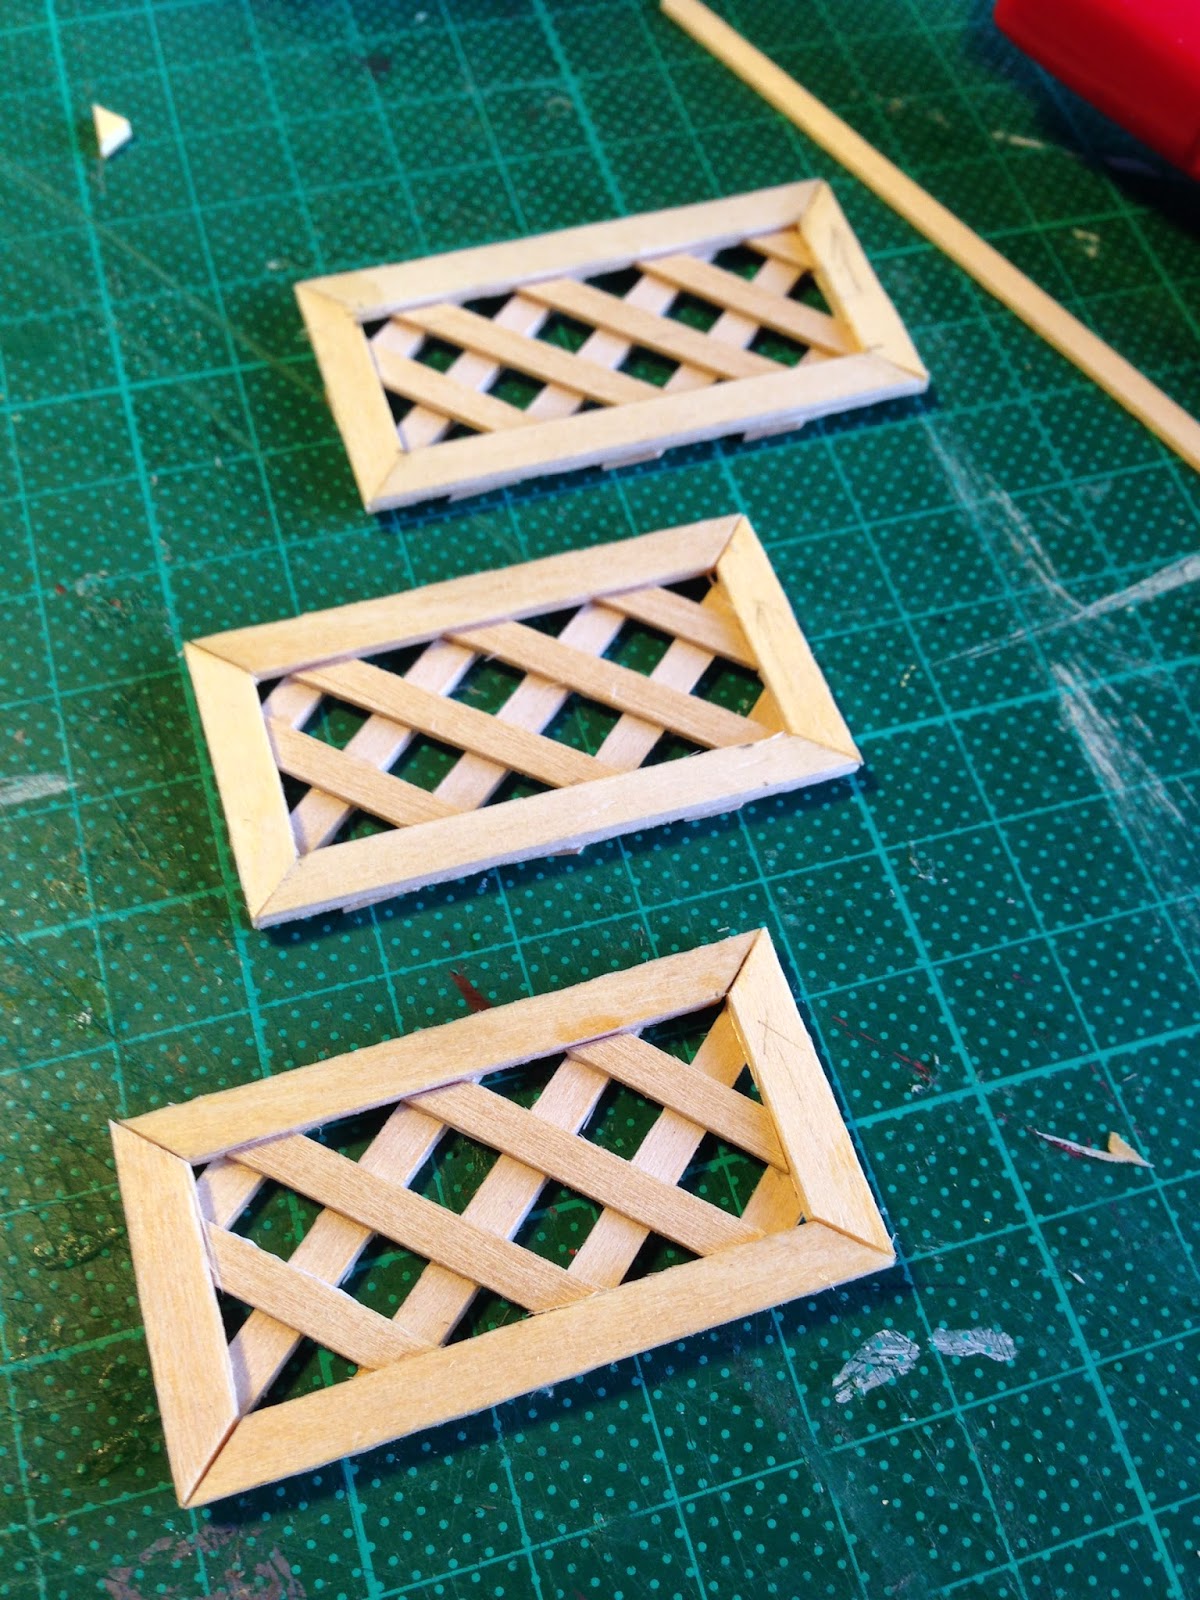
I then decided it would be important to have grilles/lattice between the brick posts which support the porch (these posts were not included in the kit, I added them using offcuts). These grilles are quite common, and look very nice.


I made them with some basewood strips I had cut.


They sit nicely between the porch brick posts, although now I am feeling doubtful that I have done them the right scale...I have a sneaking suspicion I should re-do them using slightly finer slats. Thankfully this won't take too long, and it is the small details that make a house!


Finally I used some off cut wood flooring to do the porch. All in all, it has made a good effect.


You can find more info on how to do brick in this way at one of my favourite blogs, Otterine's Miniatures (some more tutorials are referenced here too). 

Monday, 23 December 2013

Hanging and Ageing Tiny Doors - A Tutorial

Preparing and hanging doors is a tricky business. To get a real aged look you have to create wear and tear.

Lightly sand the surface and then smudge it very lightly with grey chalk pastel. Be sure to smudge only where ordinary wear and tear would be, such as around the door handle. 


To add more realism I made a faux door catch by cutting an indent on one door (above) and gluing a small brass square on the other (below).


I hung the door using hinges rather than using a pin (which is easier).


This required carefully cutting in where the hinges will go.


I superglued the hinges on, and then drilled little holes for the nails. This makes it much easier than trying to nail it when it is not fixed in place. Also, be sure to drill the holes and glue in the nails rather than nailing them in with a hammer. If you nail them in the chances are the delicate wood of your door will split. 


It is important to ensure your hinges are perfectly lined up and horizontal, otherwise the door will not open or the hinges will break when you open it.


The result is pleasing.