Showing posts with label Waffle. Show all posts

Friday, 11 April 2025

Pandan Waffle using Pancake Mix


Adding tapioca starch, pandan powder#, fresh pandan leaf bits, to the Prima brand pancake mix, I was able to bake 4 small pandan waffles without much effort. Less troublesome than my previous pandan waffle recipe 😉

# you can buy the pandan powder from Scoop Wholefood store.

The waffle has a nice soft yet springy texture, and a nice golden crust.
The only drawback was it did not have a strong pandan and coconut aroma. Maybe I can improve by adding more fresh pandan leaf bit next round 😉 I used low-fat milk instead of coconut milk as I always have low-fat milk in my fridge 🥛

A short glimpse of the waffle in maker, as well as the texture of the waffles ↓

Ingredients

A
100g Prima pancake mix
30g tapioca starch
3g pandan powder, 1 tsp
1g baking powder, 1/2 tsp

B
50~55g egg
90g low-fat milk
10g golden syrup/honey
5g fresh pandan leaf, chopped finely

C
15g coconut oil

Directions

1. Mix Ingredient A in a bowl. Set aside.

2. Blend Ingredient B in a separate bowl till well mixed.

3. Gradually mix A to B using a whisk, till you get a smooth batter.

4. Finally, mix C to the batter. Cover the bowl of batter with cling wrap, and let it stands for about 30 to 60 minutes.

5. Heat up a waffle maker following the manufacturer's instructions. Brush a thin coat of vegetable oil over the waffle plates, and wait for the ready-light to be illuminated.

6. Stir the waffle batter before adding to the hot waffle plates. Close the waffle maker and wait for the ready-light to be illuminated again, or till the steam has reduced.

7. Open the waffle maker, and check whether the waffles have been fully cooked. Flip the waffles over, close the waffle maker, to brown the other face of the waffles.

8. Brown* the waffles to your desired tone, remove the waffles from the waffle maker. Serve warm or cold 😋 
* over-browned the waffles may cause the waffles to have a drier texture 😉


Thursday, 30 May 2019

Butter Coconut Milk Mochi Waffle

My first attempt was a total failure - although the waffle was crispy, it tasted dry like biscuits 😔 In my second attempt, I combined part of the glutinous rice flour with milk and coconut milk into a coconut milk roux or mochi. The roux was then added to the waffle batter, and the result was surprisingly good - crispy crust and chewy crumb.  As glutinous rice flour is not easy to be digested, so I only added a small portion of it. 😊

Although the crispiness of the waffle was not permanent, the softened version of the waffle was equally delicious 😋

Slightly chewy waffle

Moist and slightly chewy mochi waffle

Serving: about 6 small waffles
Equipment: waffle iron/maker

Ingredients

Coconut Milk Roux
20g glutinous rice flour
50g milk
50g coconut milk


Waffle Batter
1 egg

30g caster sugar
pinch of salt
5g golden syrup/honey

60g coconut milk

60g top flour
15g glutinuous rice flour
5g tapioca starch
1/2 tsp baking powder

30g unsalted butter, melted


Directions

1. Mix all 3 ingredients under the Coconut Milk Roux section, namely the glutinous rice flour, milk and coconut milk, in a heat resistant cup.


Heat over medium-low temperature, and stir regularly. When the mixture starts to thicken, lower the temperature and stir more regularly to prevent the base from browning. The coconut milk roux should be ready when the temperature reaches about 65~70℃, or thick like a paste.
You can also cook the coconut roux over a water-bath.

Remove coconut milk roux from the heat source.

Cool down and cover with a cling wrap. Set aside.

2. In a separate mixing bowl, mix egg, sugar, salt and golden syrup together till most of the sugar has dissolved.


3. Blend in the coconut milk,
followed by the sifted flour mixture of top flour, glutinous rice flour, tapioca starch and baking powder.


Next, blend in the coconut milk roux from Step 1.

Finally, mix in the melted butter,

into a smooth and glossy batter.

Cover with a lid, and let the batter rest for about 30 minutes.

4. Heat a waffle iron/maker, and brush some oil over the surface of the waffle mould.


Wait for the indicator light to turn to green.

Pour the waffle batter onto the hot waffle iron/maker, and close the waffle maker.


Wait for the indicator light to turn green again. The waffle is ready when the crust becomes golden or brown.


5. Let the waffles cool down a while before enjoying 😋


Saturday, 21 September 2013

Pandan Coconut Waffle II using Tefal Waffle Maker (Outside crispy, inside tender)


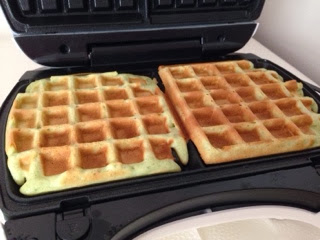
Beat the waffle queue outside thenPrima Deli shops, by baking the pandan waffles at my own kitchen. When the waffles were hot, it's crispy outside, and soft inside ;)

Yield : about 8 slices of 12cm square waffles 

Ingredients

128g all purpose flour
1 tsp double acting baking powder
1/4 tsp salt

50g water
2 pandan leaves, about 10-12g
100g coconut milk
50g milk
20g unsalted butter 
2 egg yolks 

2 egg white
60g fine sugar

Direction

1. Mix all purpose flour ,double acting baking powder and salt in a bowl using a hand whisk. Set aside.

2. Blend water and pandan leaves
using a food processor or blender. Set aside.


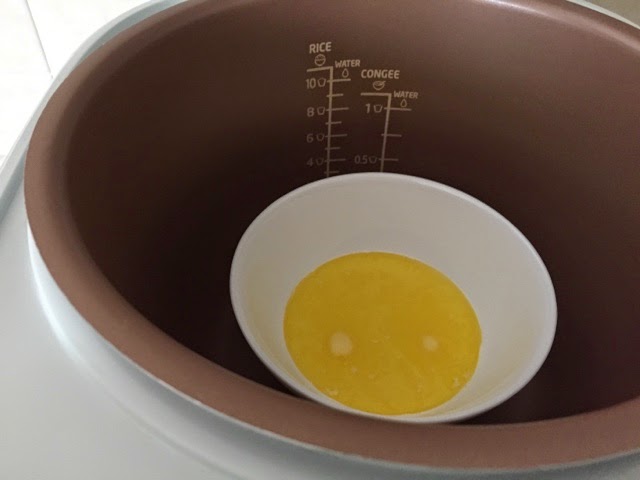
3. Place butter and fresh milk in a heat resistant bowl, and keep warm in a rice cooker for about 10 minutes, or till the butter melts.


4. Pour pandan juice from (2), butter milk mixture from (3), coconut milk and egg yolks into a mixing bowl and blend well.


5. Sieve in the flour mixture from (1) and fold in using a hand whisk or spatula.
Avoid over mixing, or the waffle will turn out hard.


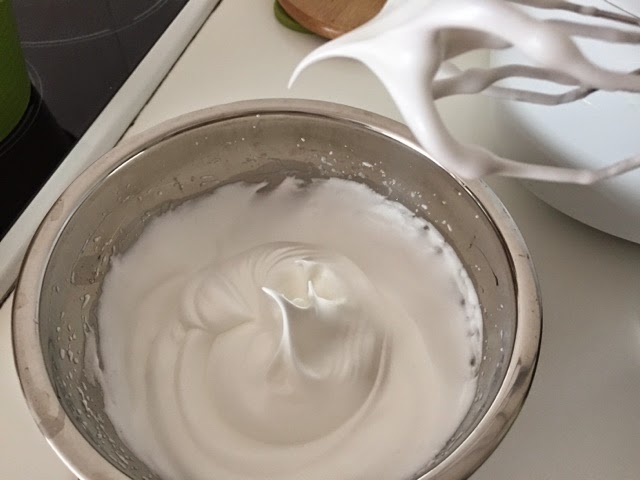
6. Place egg whites in a clean bowl and start to whisk them using an electric mixer set at high speed for about 1 minute. Slowly add in sugar in 3 lots. Continue to beat at high speed for about 2 to 3 minutes, or till firm peaks formed.


7. Take about 1/3 of the meringue to fold into the yolk mixture from (4).

8. Pour the batter back to the remaining meringue and blend well.

9. Use a spatula to scrap down the side and bottom of the bowl, to ensure no unmixed flour remains in the mixture.
Let the batter stand for about 5 to 8 minutes.


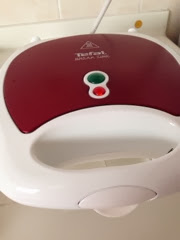
10. While waiting for the batter, heat up the waffle iron and wait for the green light to light up.


11. When the green light turns on, open the waffle iron and apply a thin layer of oil  onto the pan.


12. Pour enough batter to the cover the hot waffle pan and close the lid. 


13. While cooking, the green light will goes off. A lot of steam will be evaporating from both sides of the waffle iron. When the green light turns on again, the waffle is ready. And the steam will be lesser.

14. Allow the waffle to cook longer if you prefer a crispier crust. Open the lid, remove the waffle and serve immediately.