Showing posts with label Tips. Show all posts

Monday, November 12, 2007

Fair & Square~ Stitching Tips

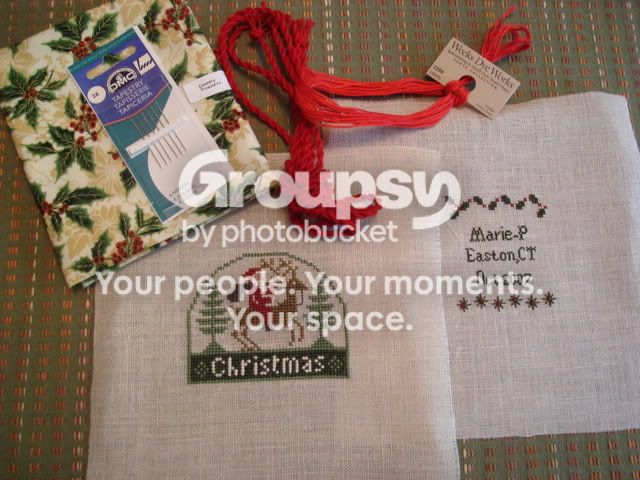
My stitching partner for Fair and Square round #3 was Paula C. She told me that she plans on finishing her blocks as Ornaments (great idea), so I decided to stitch her a Christmas design from one of her favorite designers; Prairie Schooler.


Fair & Square round #3
Prairie Schooler book #48
A Christmas Visit


Fair & Square Exchange for Paula C.

Last week I received a wonderful gift in the mail. A very good friend of mine surprised me with this Twisted Oaks kit. It is absolutely gorgeous!!! While in Vermont I drove to The Whistling Duck, a great needlework shop in Williston, VT. I was able to purchase the fabric for this, but I will need to purchase the Dinky Dyes online before I can begin stitching.
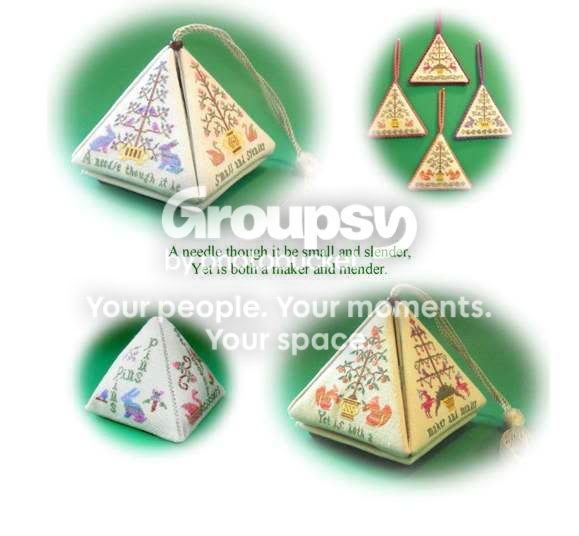
Twisted Oaks Design: Honor Thy Needle-Pyramid Etui

If you are in search of Needle Necessities floss, which is no longer in business, I know that the Whistling Duck has some in stock. they do not have a website but you can phone them and place an order. The shop owners are so nice and extremely helpful.

I had a bit of a mishap with the finishing of one of my PIF's (pay it forward). I stitched part of an AMAP design, on white linen using red silk, with plans to finish it as a scissor holder. I am not sure where my head was, but I placed the piece (wrong side up) on my ironing board to press out any wrinkles. For some reason I got "wacky" with the spray bottle and almost drown the piece. After pressing it, mounting it onto cardboard, and preparing the back piece, I sandwiched it together and placed it under some heavy books. The next day I returned to my sewing room ready to stitch on the cording. To my shock I saw that the red from the thread had migrated onto the white linen UGH!!! With a Q-tip in hand I thought that maybe I could blot it out...no such luck. What would I do now? I know, I will wet it and try to get the thread to bleed all over the fabric. Would it look like hand-dyed fabric? I wish, but NO it looked worse. What would I do now? Throw it out! Yup, that's what I did. Sadly, someone out there would have been receiving their PIF, but must now wait until I stitch up a new one.

Some helpful hints for cross stitch can be found at The Caron Collection, Jay's Stitching Hints , and Bonnie's Cross Stitch Zone, Needlework FAQ's.

Thanks for stopping by. It is always so nice to read your comments and to see that someone new has visited!


Until next time...

Sunday, May 20, 2007

Tip For Today ~ Cording

Stitching On Cording


So you have completed the stitching on yet another project and you decide to finish it as an ornament, or maybe a flat fold. Either way your plan is to complete the project by stitching on decorative cording. Seeing as I purchased the perfect cording gadget (I will be posting info on a few great gadgets), I almost always make my own. This allows me to easily color coordinate the cording with my finished piece. Grabbing a "sharp" needle I set out to stitch the cording onto the flat fold. Little did I know I would experience "Needle Nightmare" ~ As an avid stitcher and quilter I typically get on quite well with the needle...not this time. Due to the flat fold's rigid edge manipulating this needle was troublesome so I decided to try a "circular" needle (it's a gadget so yes I own it!). With high hopes I started stitching and once again the "Needle Nightmare" began. The sharp was a bit long, the circular was a bit awkward, I new then just which needle to try next~a between. For the non-quilters, this is a very tiny quilting needle. With my size 12 between needle in hand I began stitching and quickly realized that this would no longer be my quilting needle, it would forever be my "cording needle". At a mere 7/8" long it is easy to maneuver the needle around the rigid edge, through the cording and into the fabric, eliminating my Needle Nightmare!

Word of caution: quilting needles, no matter what the size, are very small and have a tiny eye so if you decide to give it a try make sure that you have a needle threader handy.


When I stitch the cording on I:
Use a size 12 between quilting needle.
Use one stand of matching floss.
Come through the bottom of the cording and catch a few threads of the fabric.
Never loop over the top of the cording to stitch it in place.
For those that may experience "Needle Nightmare" I do hope this helps!

Friday, May 11, 2007

Tip for Today ~ Linen Over One

Diagram A ~ Diagram B

To insure that your crosses over one thread lay nicely and do not slide between the threads of the linen and disappear, work each "over-one" as follows:

When the top thread of linen is vertical (diagram A), make a vertical pass on the back of the linen to complete the stitch.

When the top thread of linen is horizontal (diagram B), make a horizontal pass on the back of the fabric to complete the stitch.